


Search Results for:
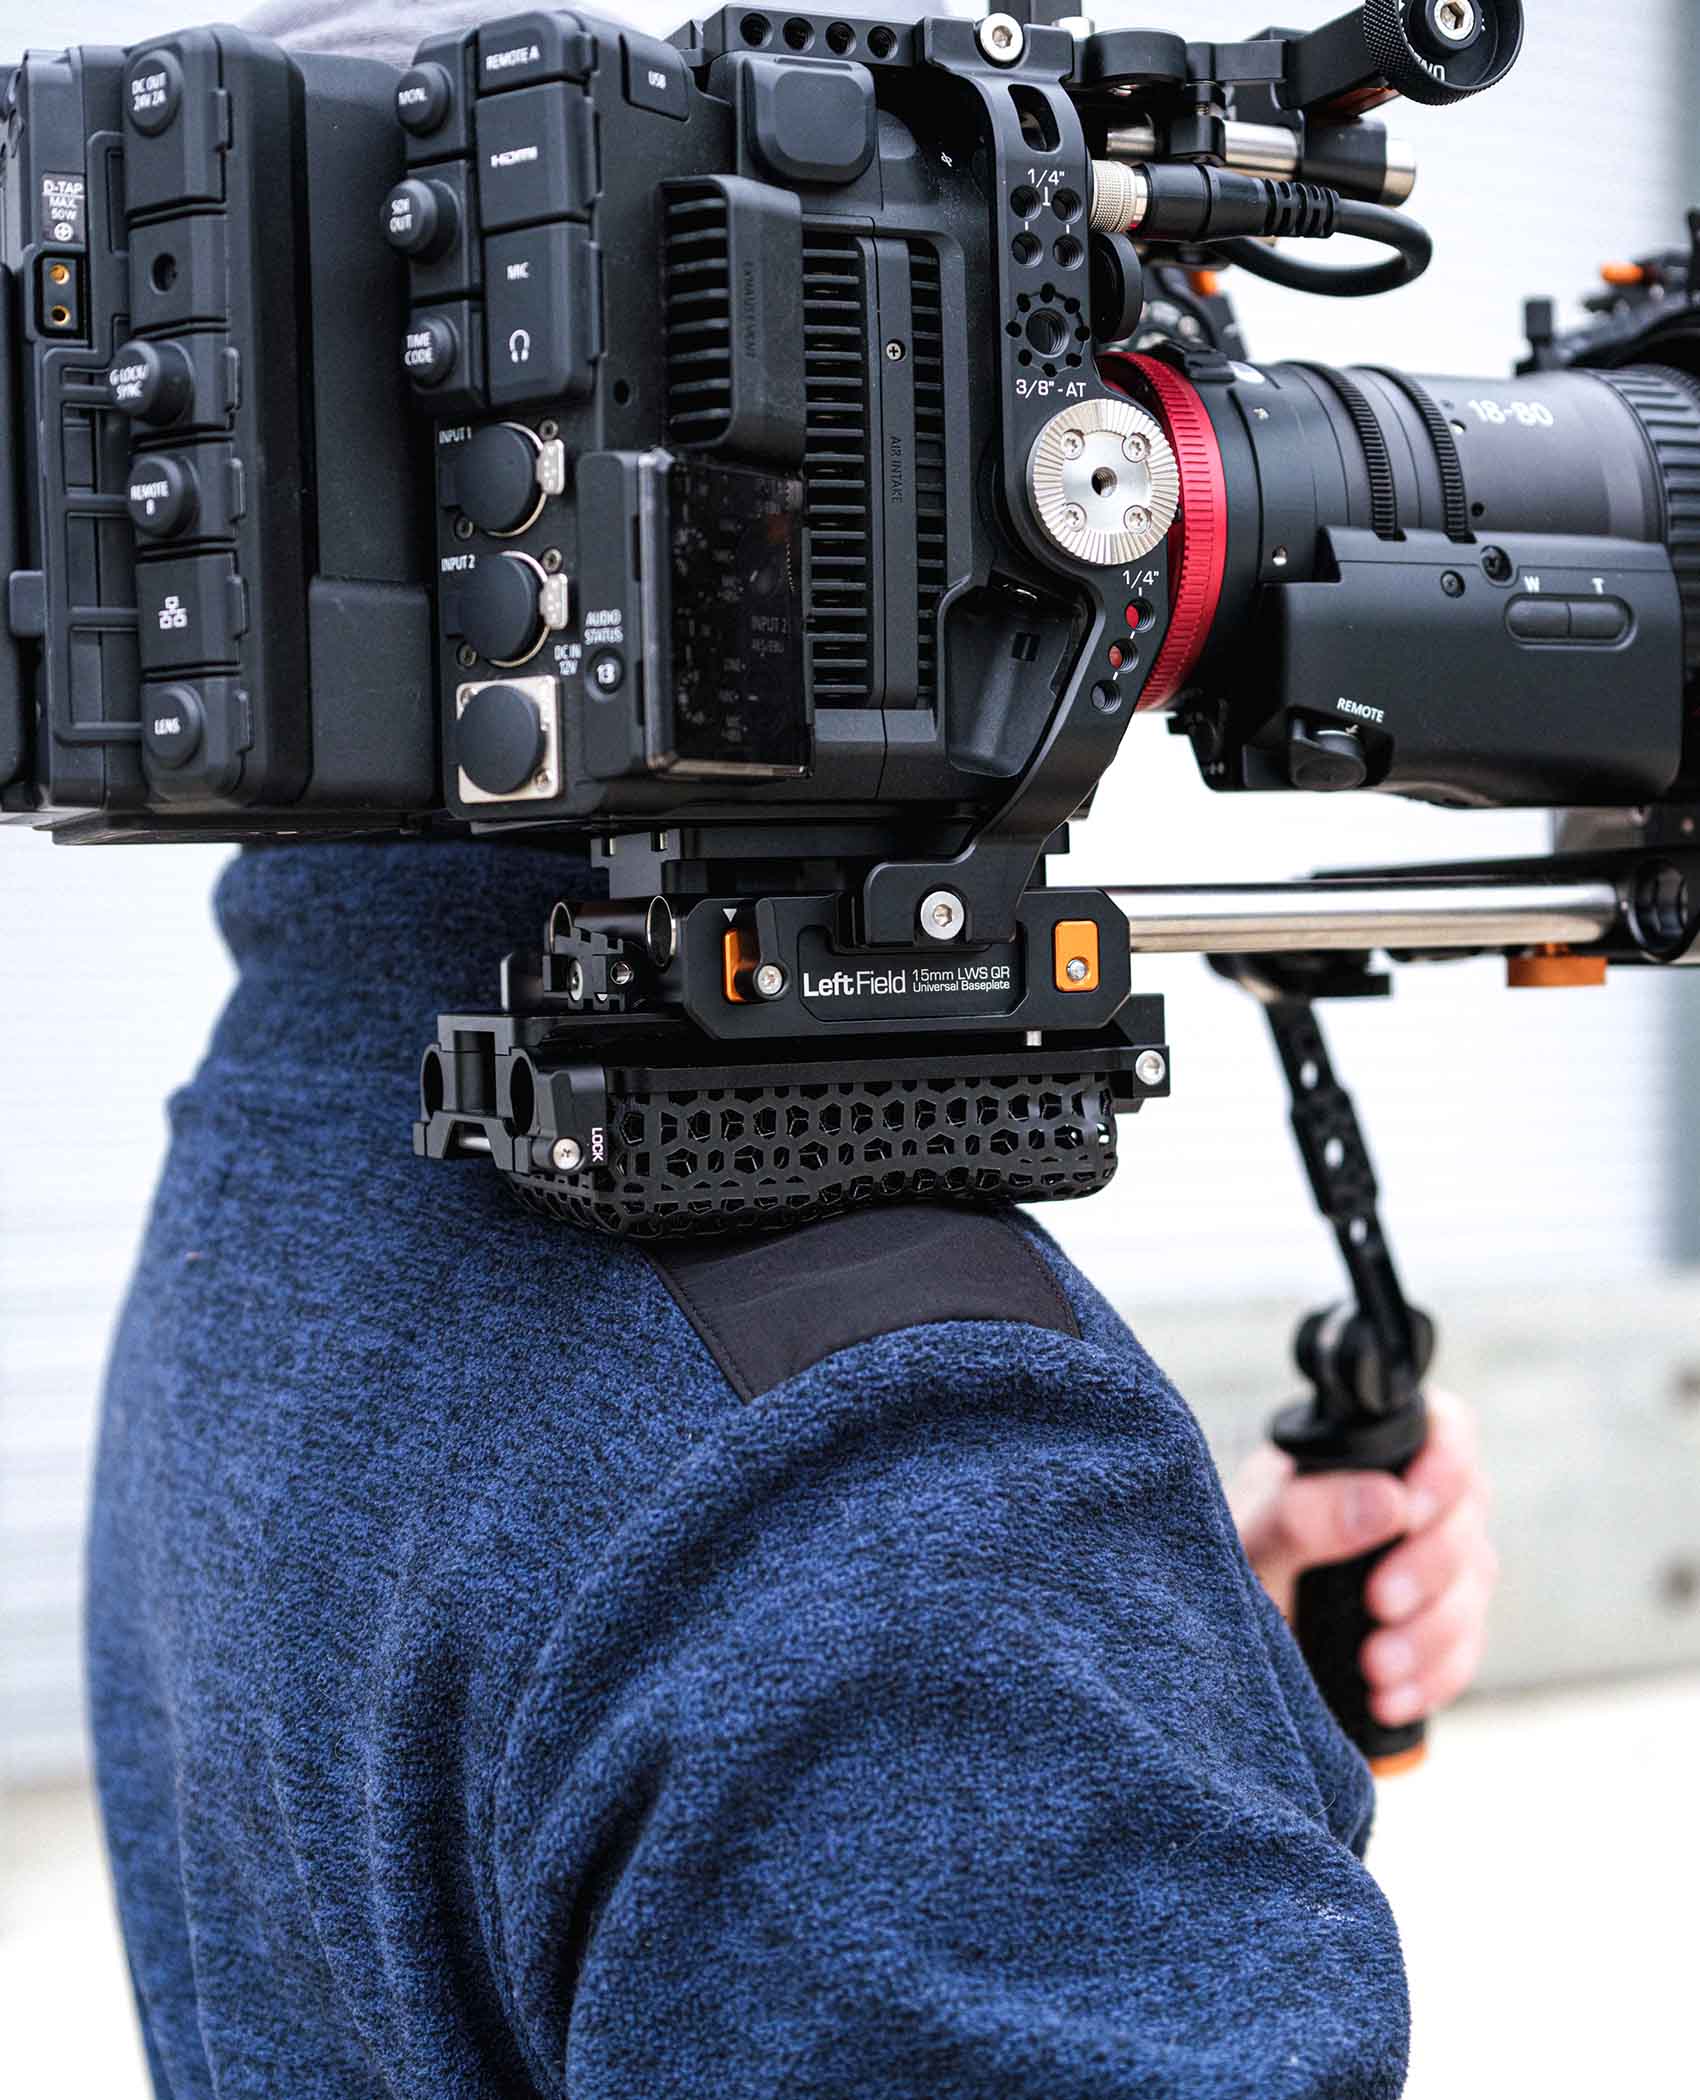
Equipping the RED KOMODO-X with the LeftField System
RED has just announced the KOMODO-X camera, which is positioned between the KOMODO® and V-RAPTOR™ models. Here’s everything you need to know about using the RED KOMODO-X camera with your existing or new LeftField System.

What are the key differences between the KOMODO & KOMODO-X?
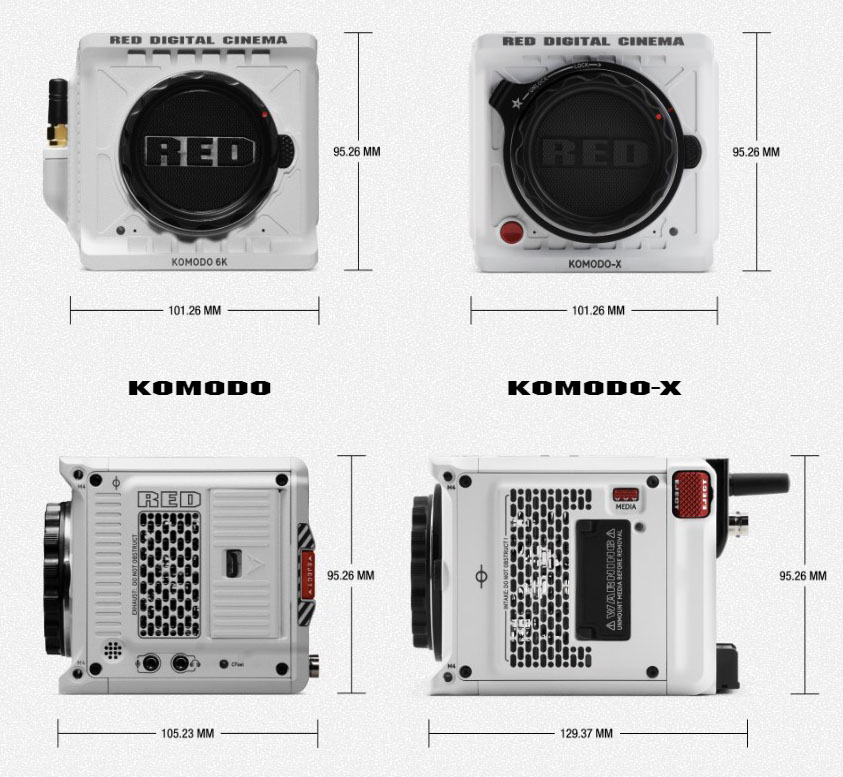
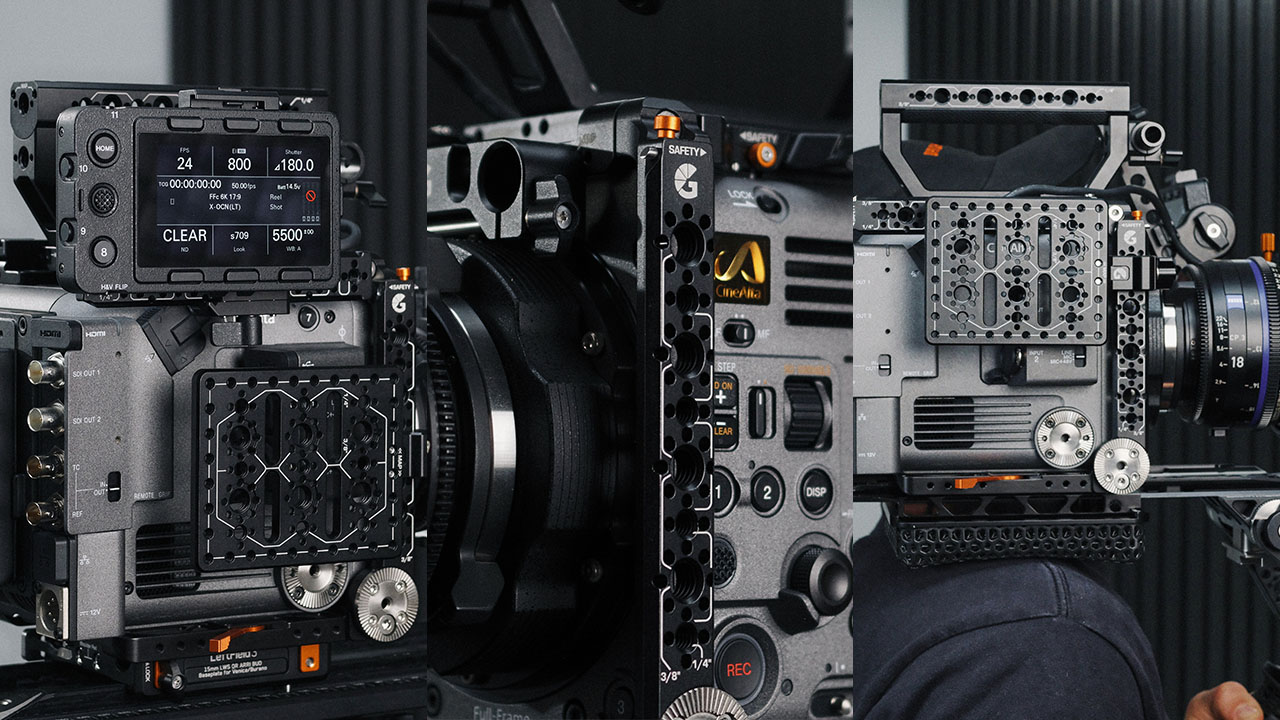
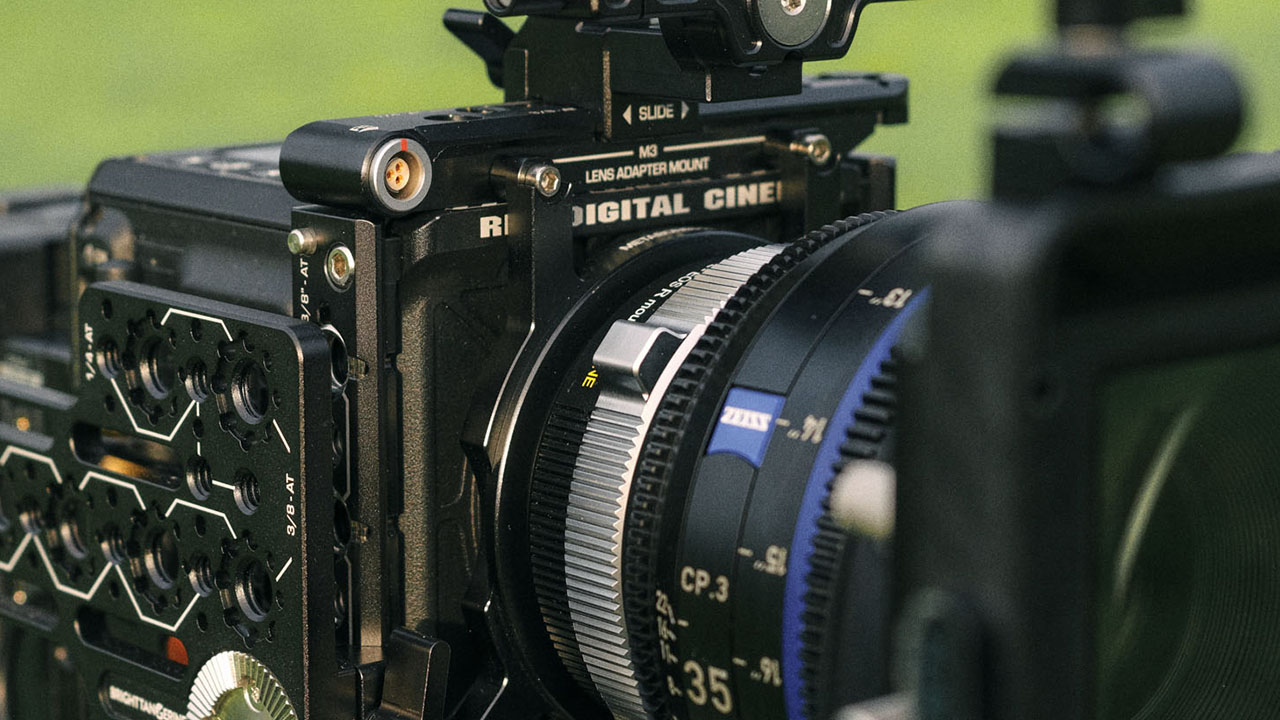
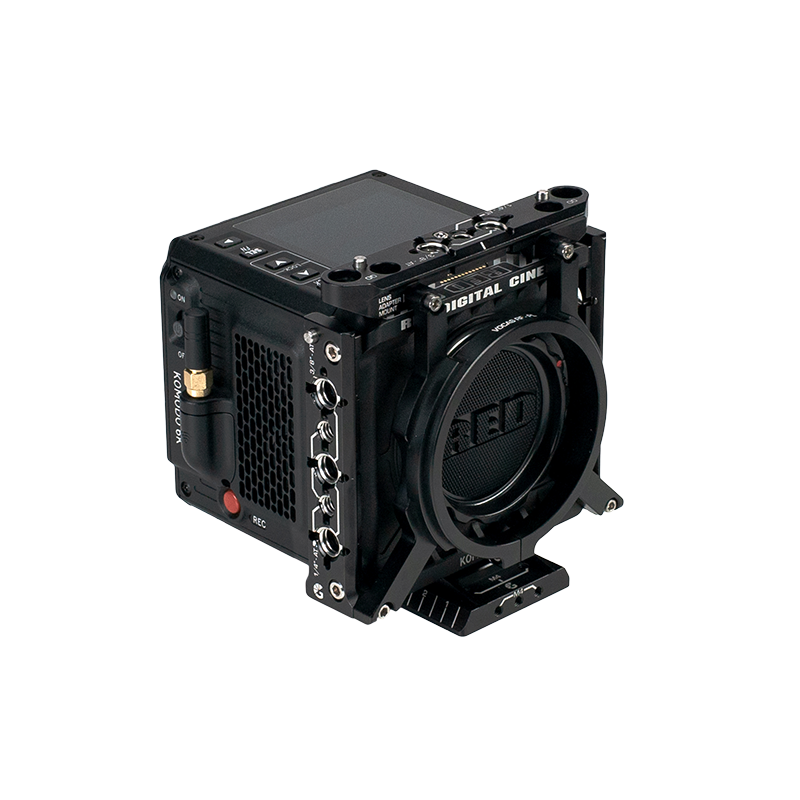
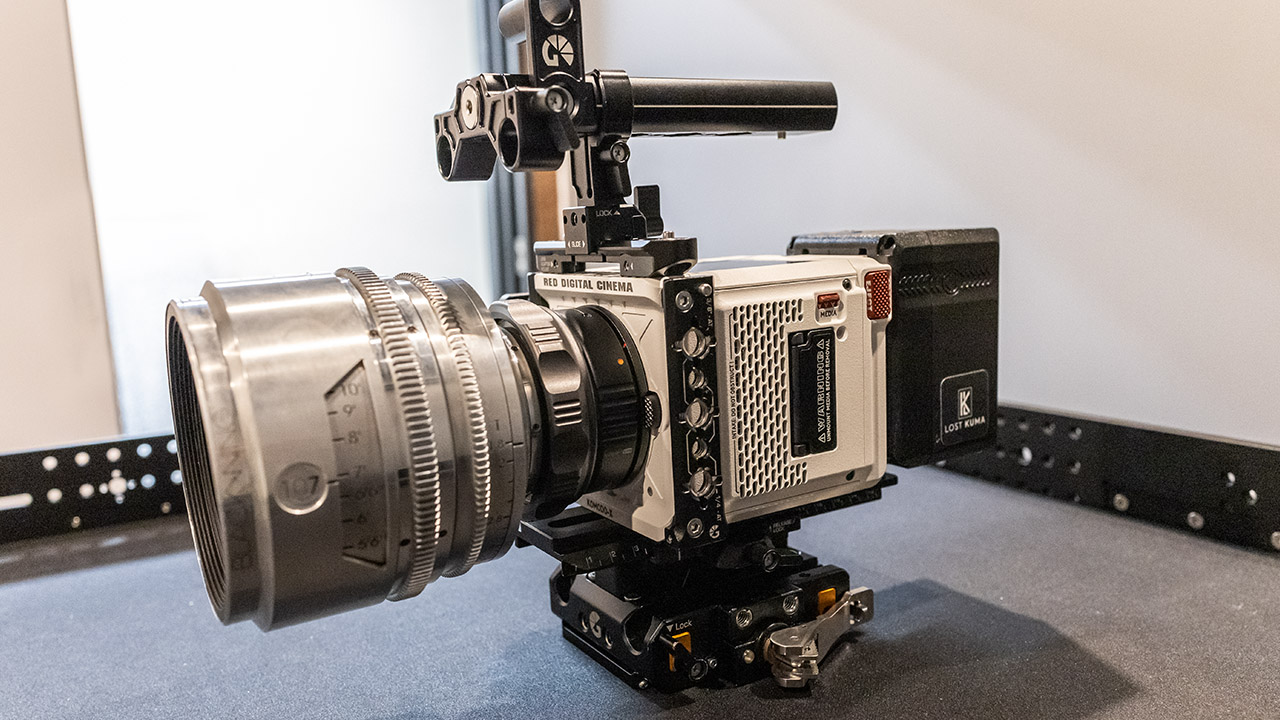
The KOMODO-X looks similar to the original KOMODO but features an elongated body, native micro v-lock mount, additional IO, and is compatible with the RED DSMC3 Touch 7″.
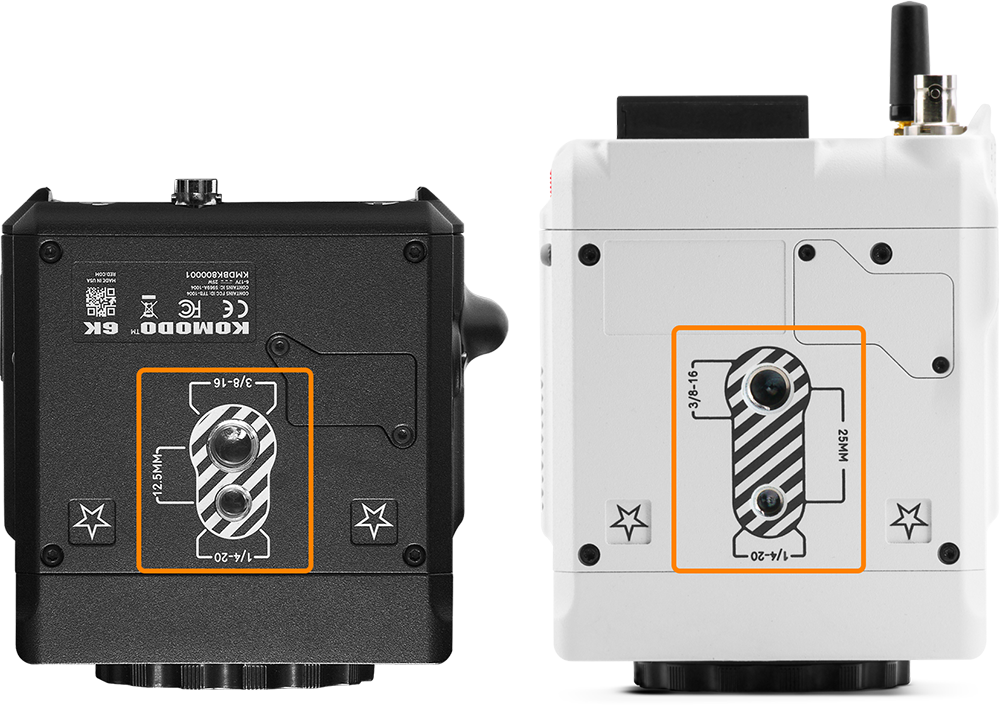
The main difference in compatibility and fit with current accessories is the repositioned mounting point on the bottom of the camera, while the original KOMODO has a screw spacing of 12.5mm, the KOMODO-X has a spacing of 25mm.
Additionally, the KOMODO-X features a locking RF mount and a run/stop button on the front of the camera. These two differences are the main factors that will impact compatibility with our current product offering.
Is the LeftField KOMODO System compatible with the KOMODO-X?
For the most part, the LeftField KOMODO System is compatible with the KOMODO-X. However, the RED KOMODO dovetails (B4002.1030 & B4002.1031) and the lens support adapters (B4002.1019, B4002.1020, B4002.1021 & B4002.1026) that attach to the side and top plates are not compatible.
How can I make my existing kit compatible with the KOMODO-X?
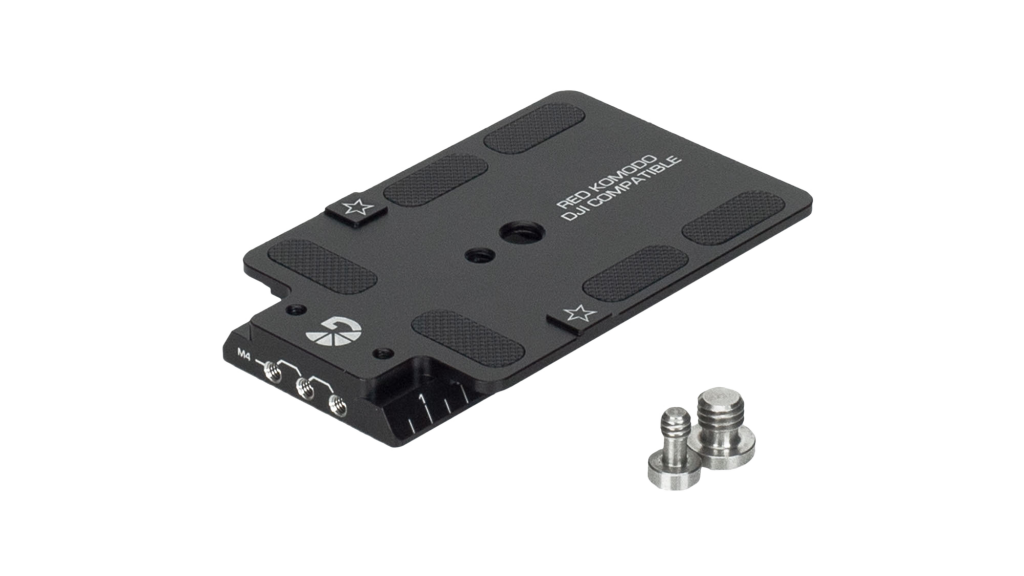
I have the standard riser
If you own a LeftField 15mm LWS Baseplate with the standard riser (B4002.1023) you will need to contact our customer support team to special order the washer plate for the KOMODO-X. The washer plate provides the correct screw spacing and proper fitment of the camera to the baseplate.
The updated Standard Riser for KOMODO & KOMODO-X (B4002.1123) will include washer plates for both the KOMODO & KOMODO-X.
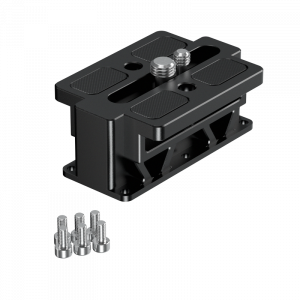
I have the DJI riser
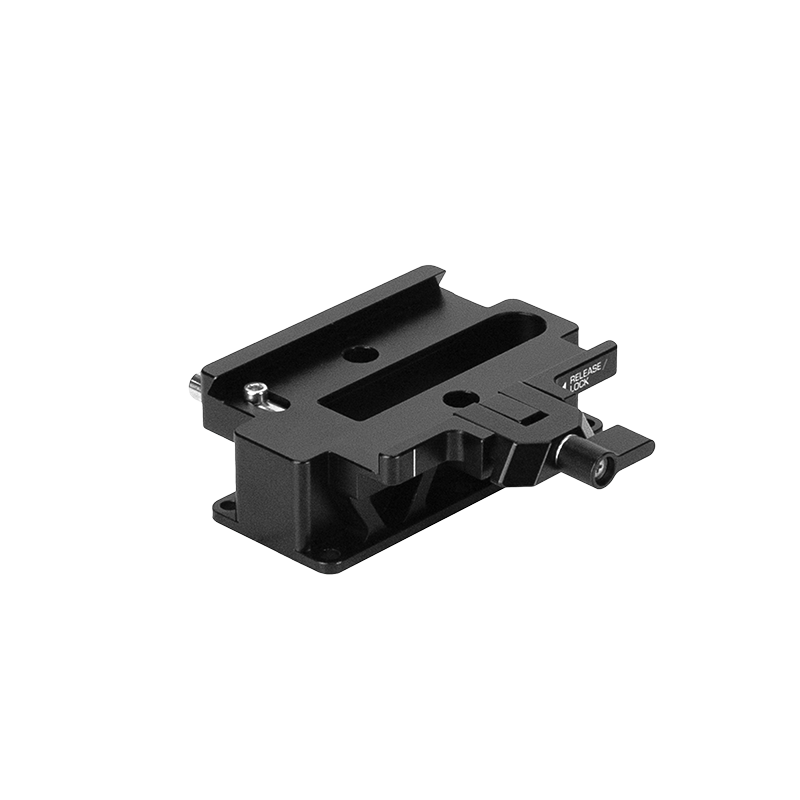
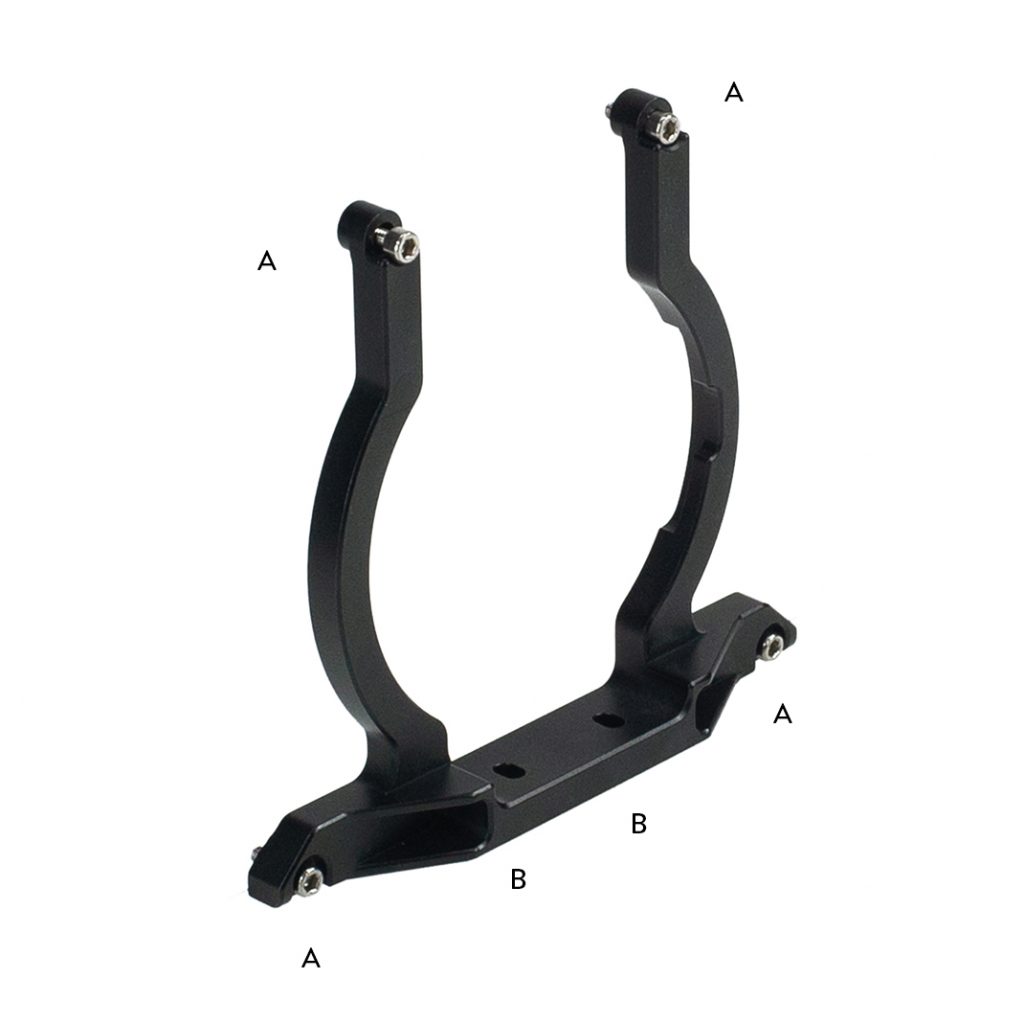
To use the DJI riser with the KOMODO-X, you will require a new dovetail that can accommodate the screw spacing of KOMODO-X.
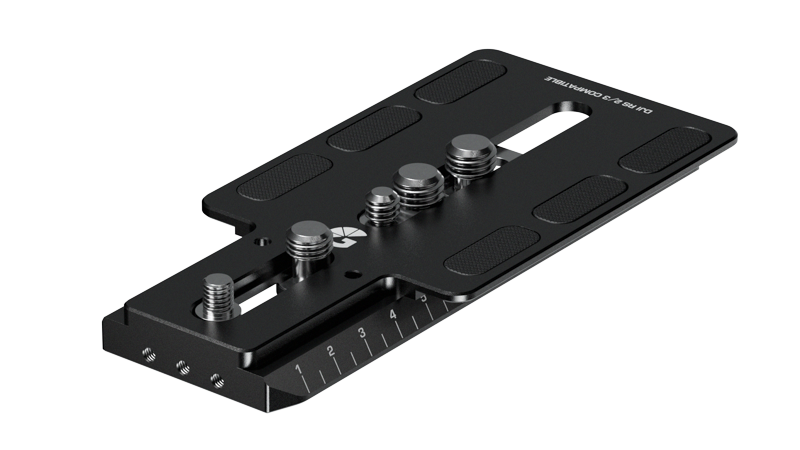
To use the KOMODO-X with the DJI Riser, you will need to use B4002.1071 Universal Extended DJI RS 2 & RS 3 Dovetail. Our universal dovetails feature shuttles with adjustable screw spacing to work with multiple cameras.
Both dovetails will maintain the correct 15mm LWS height when combined with the DJI RS 2 & RS 3 Riser (B4002.1018)
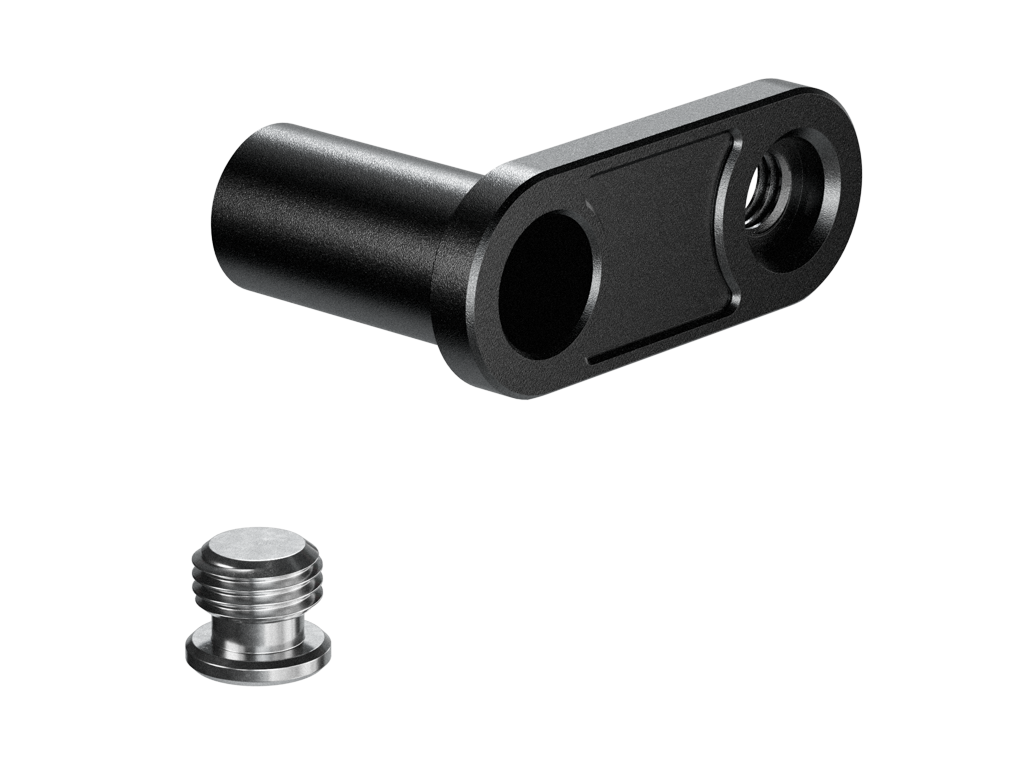
DJI RS 2 & RS 3 Compatible Dovetail
Other Compatible Accessories for the RED KOMODO-X
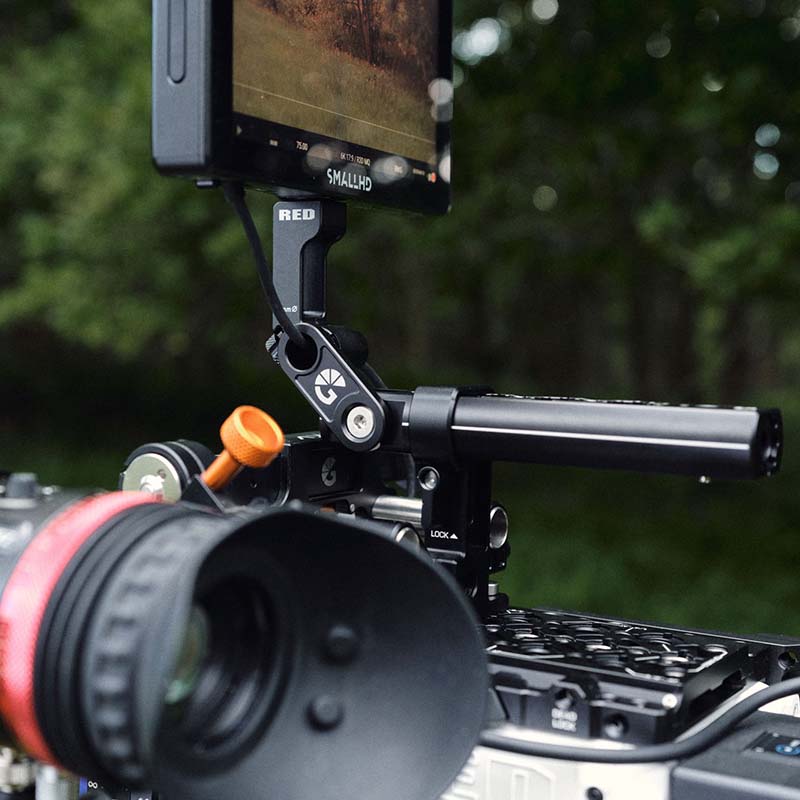
The RED KOMODO-X now has support for the RED DSMC3 TOUCH 7″ Monitor using the Pogo pins. To relocate the monitor, you can use the Monitor Mount for DSMC3 RED Touch (B4002.1068).
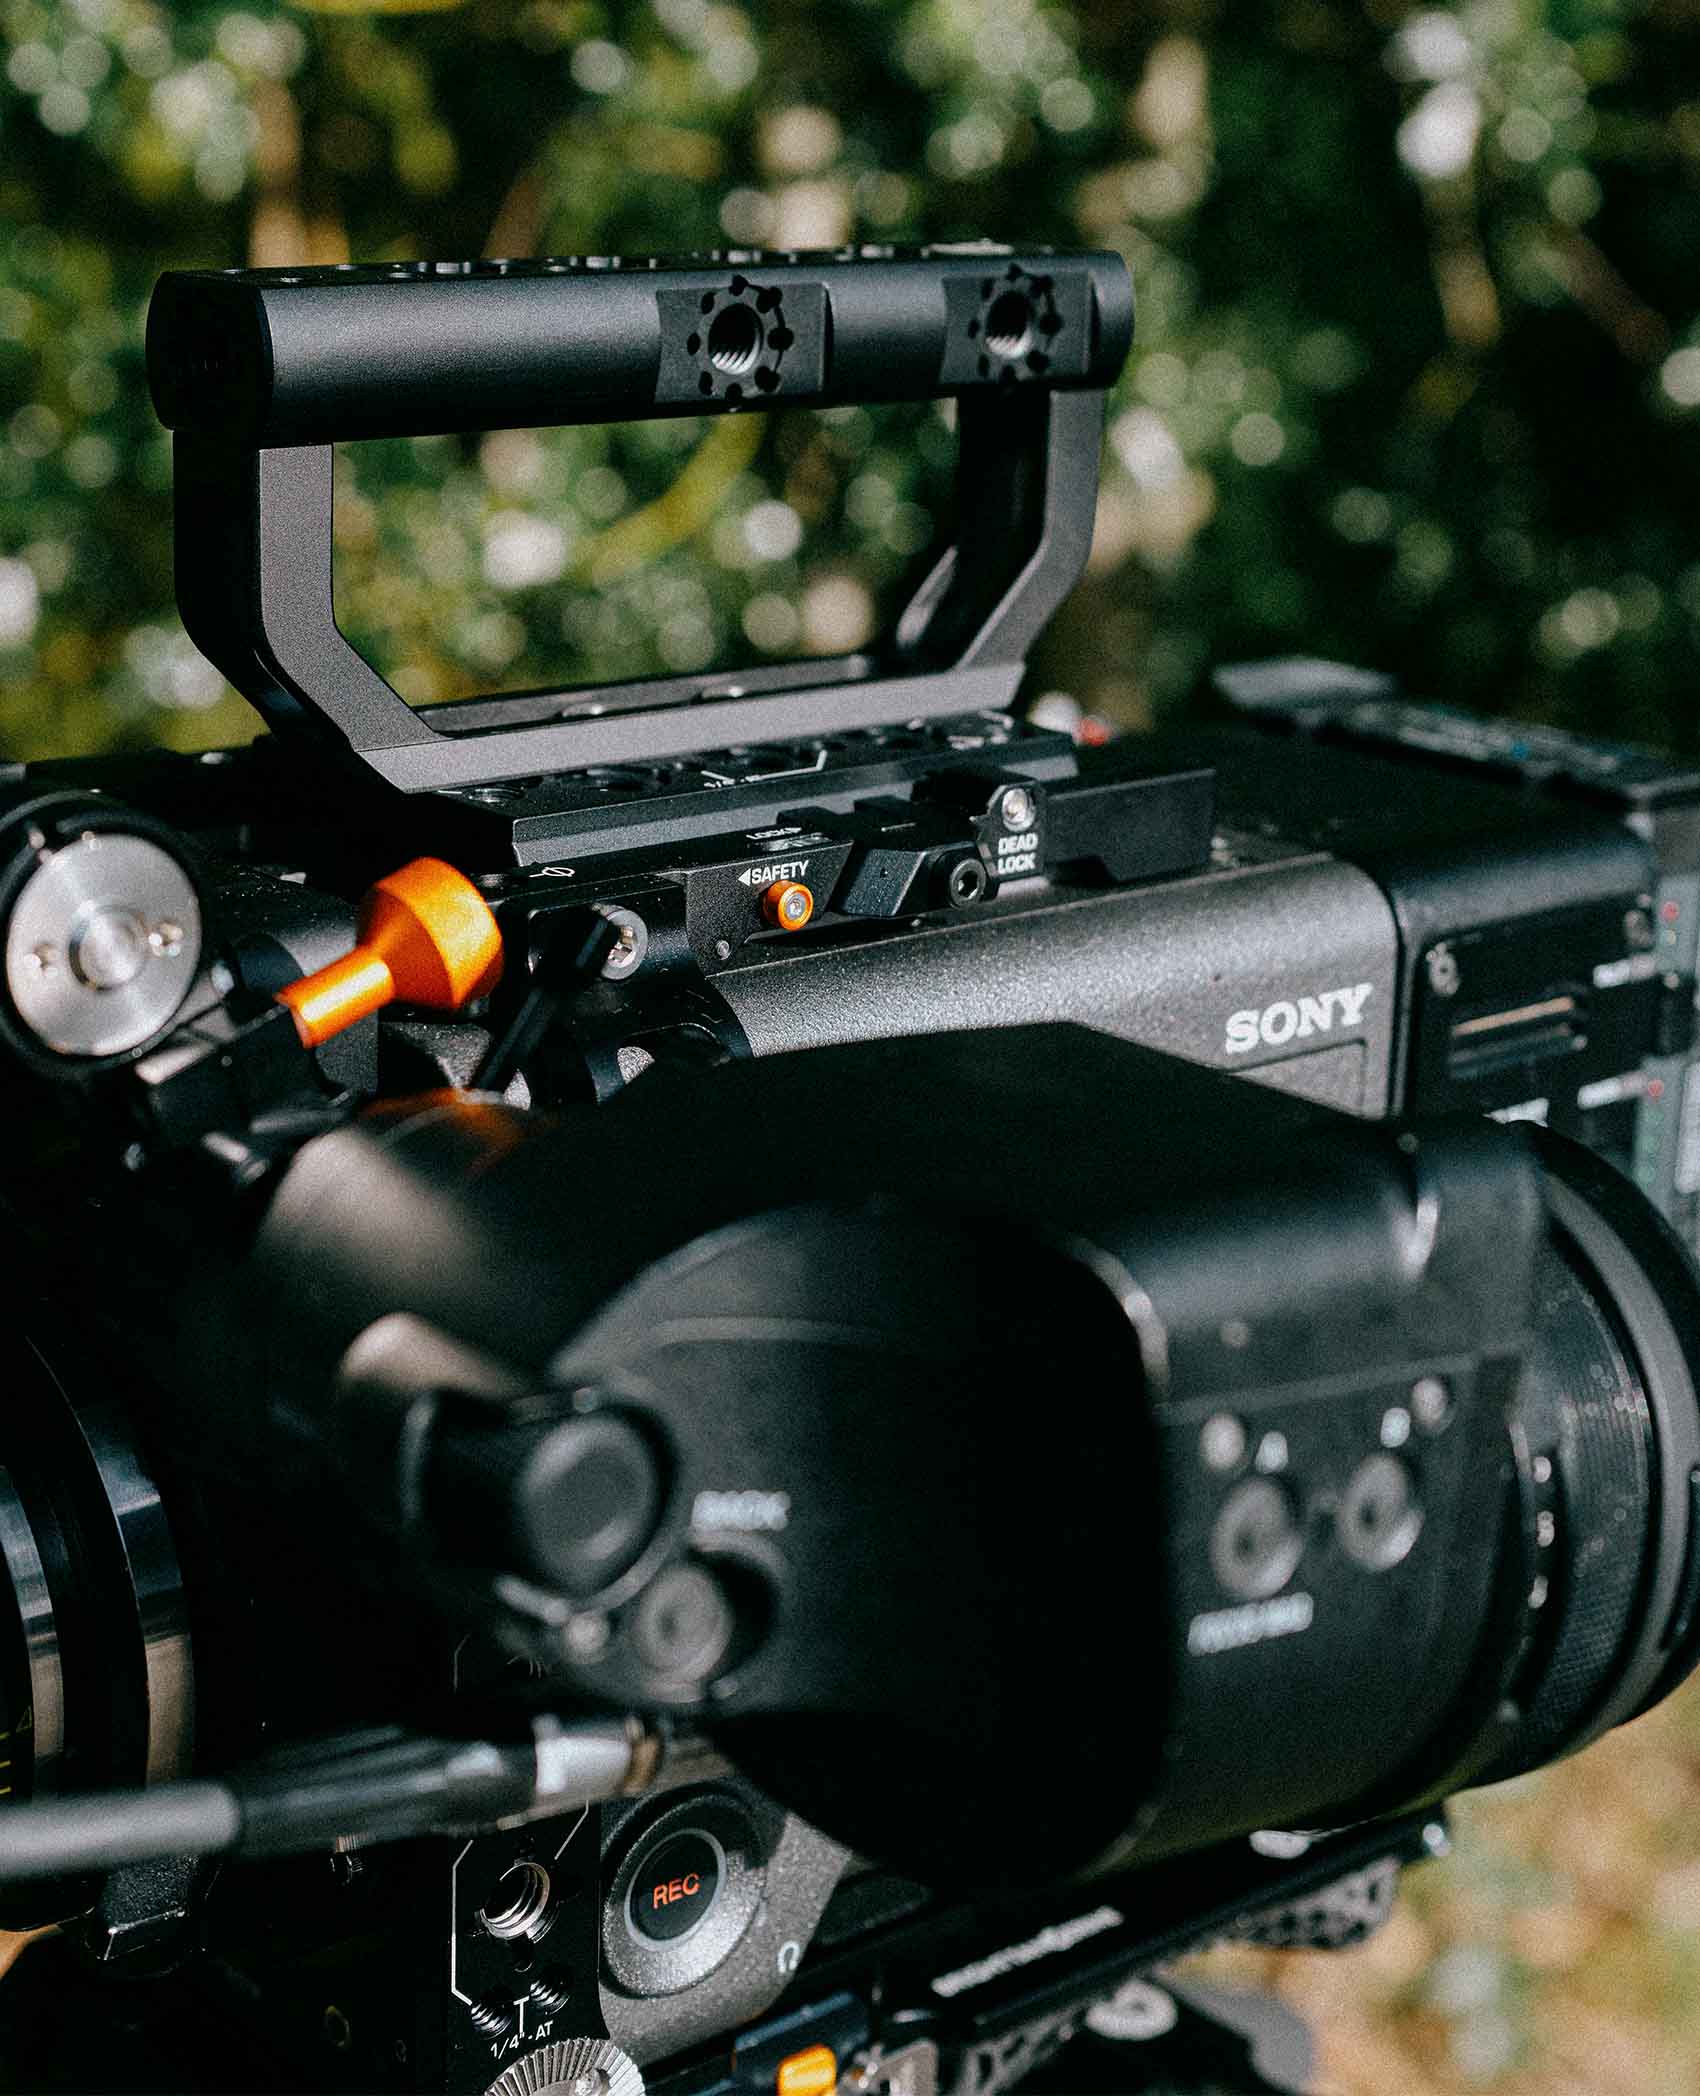
Is the RED Outrigger Handle still compatible?
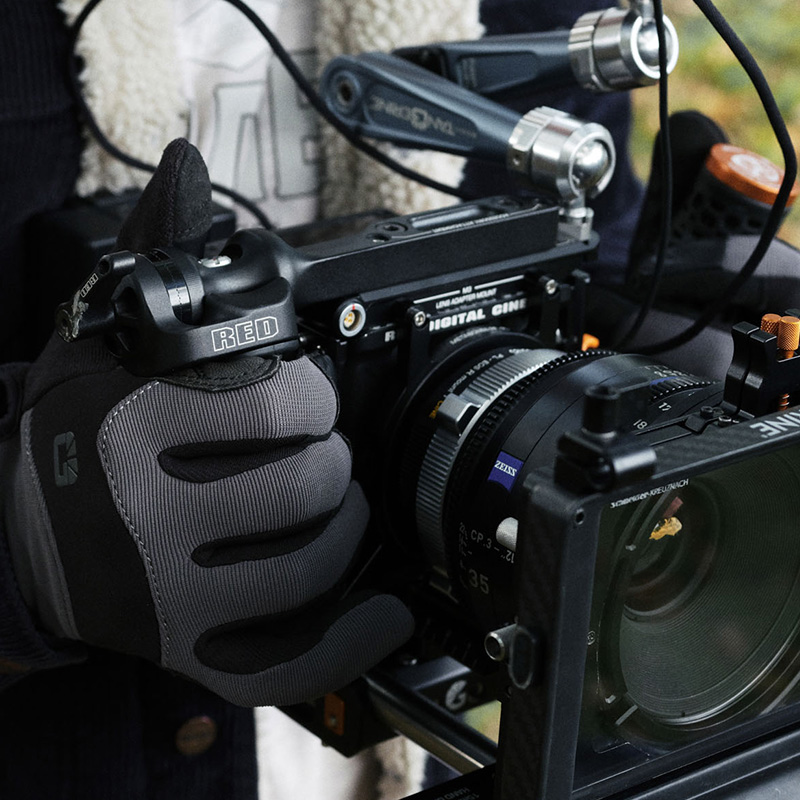
Yes, you can use the RED Outrigger handle with the RED KOMODO-X as well as in combination with our Run/Stop NATO Top Rail (B4002.1027).
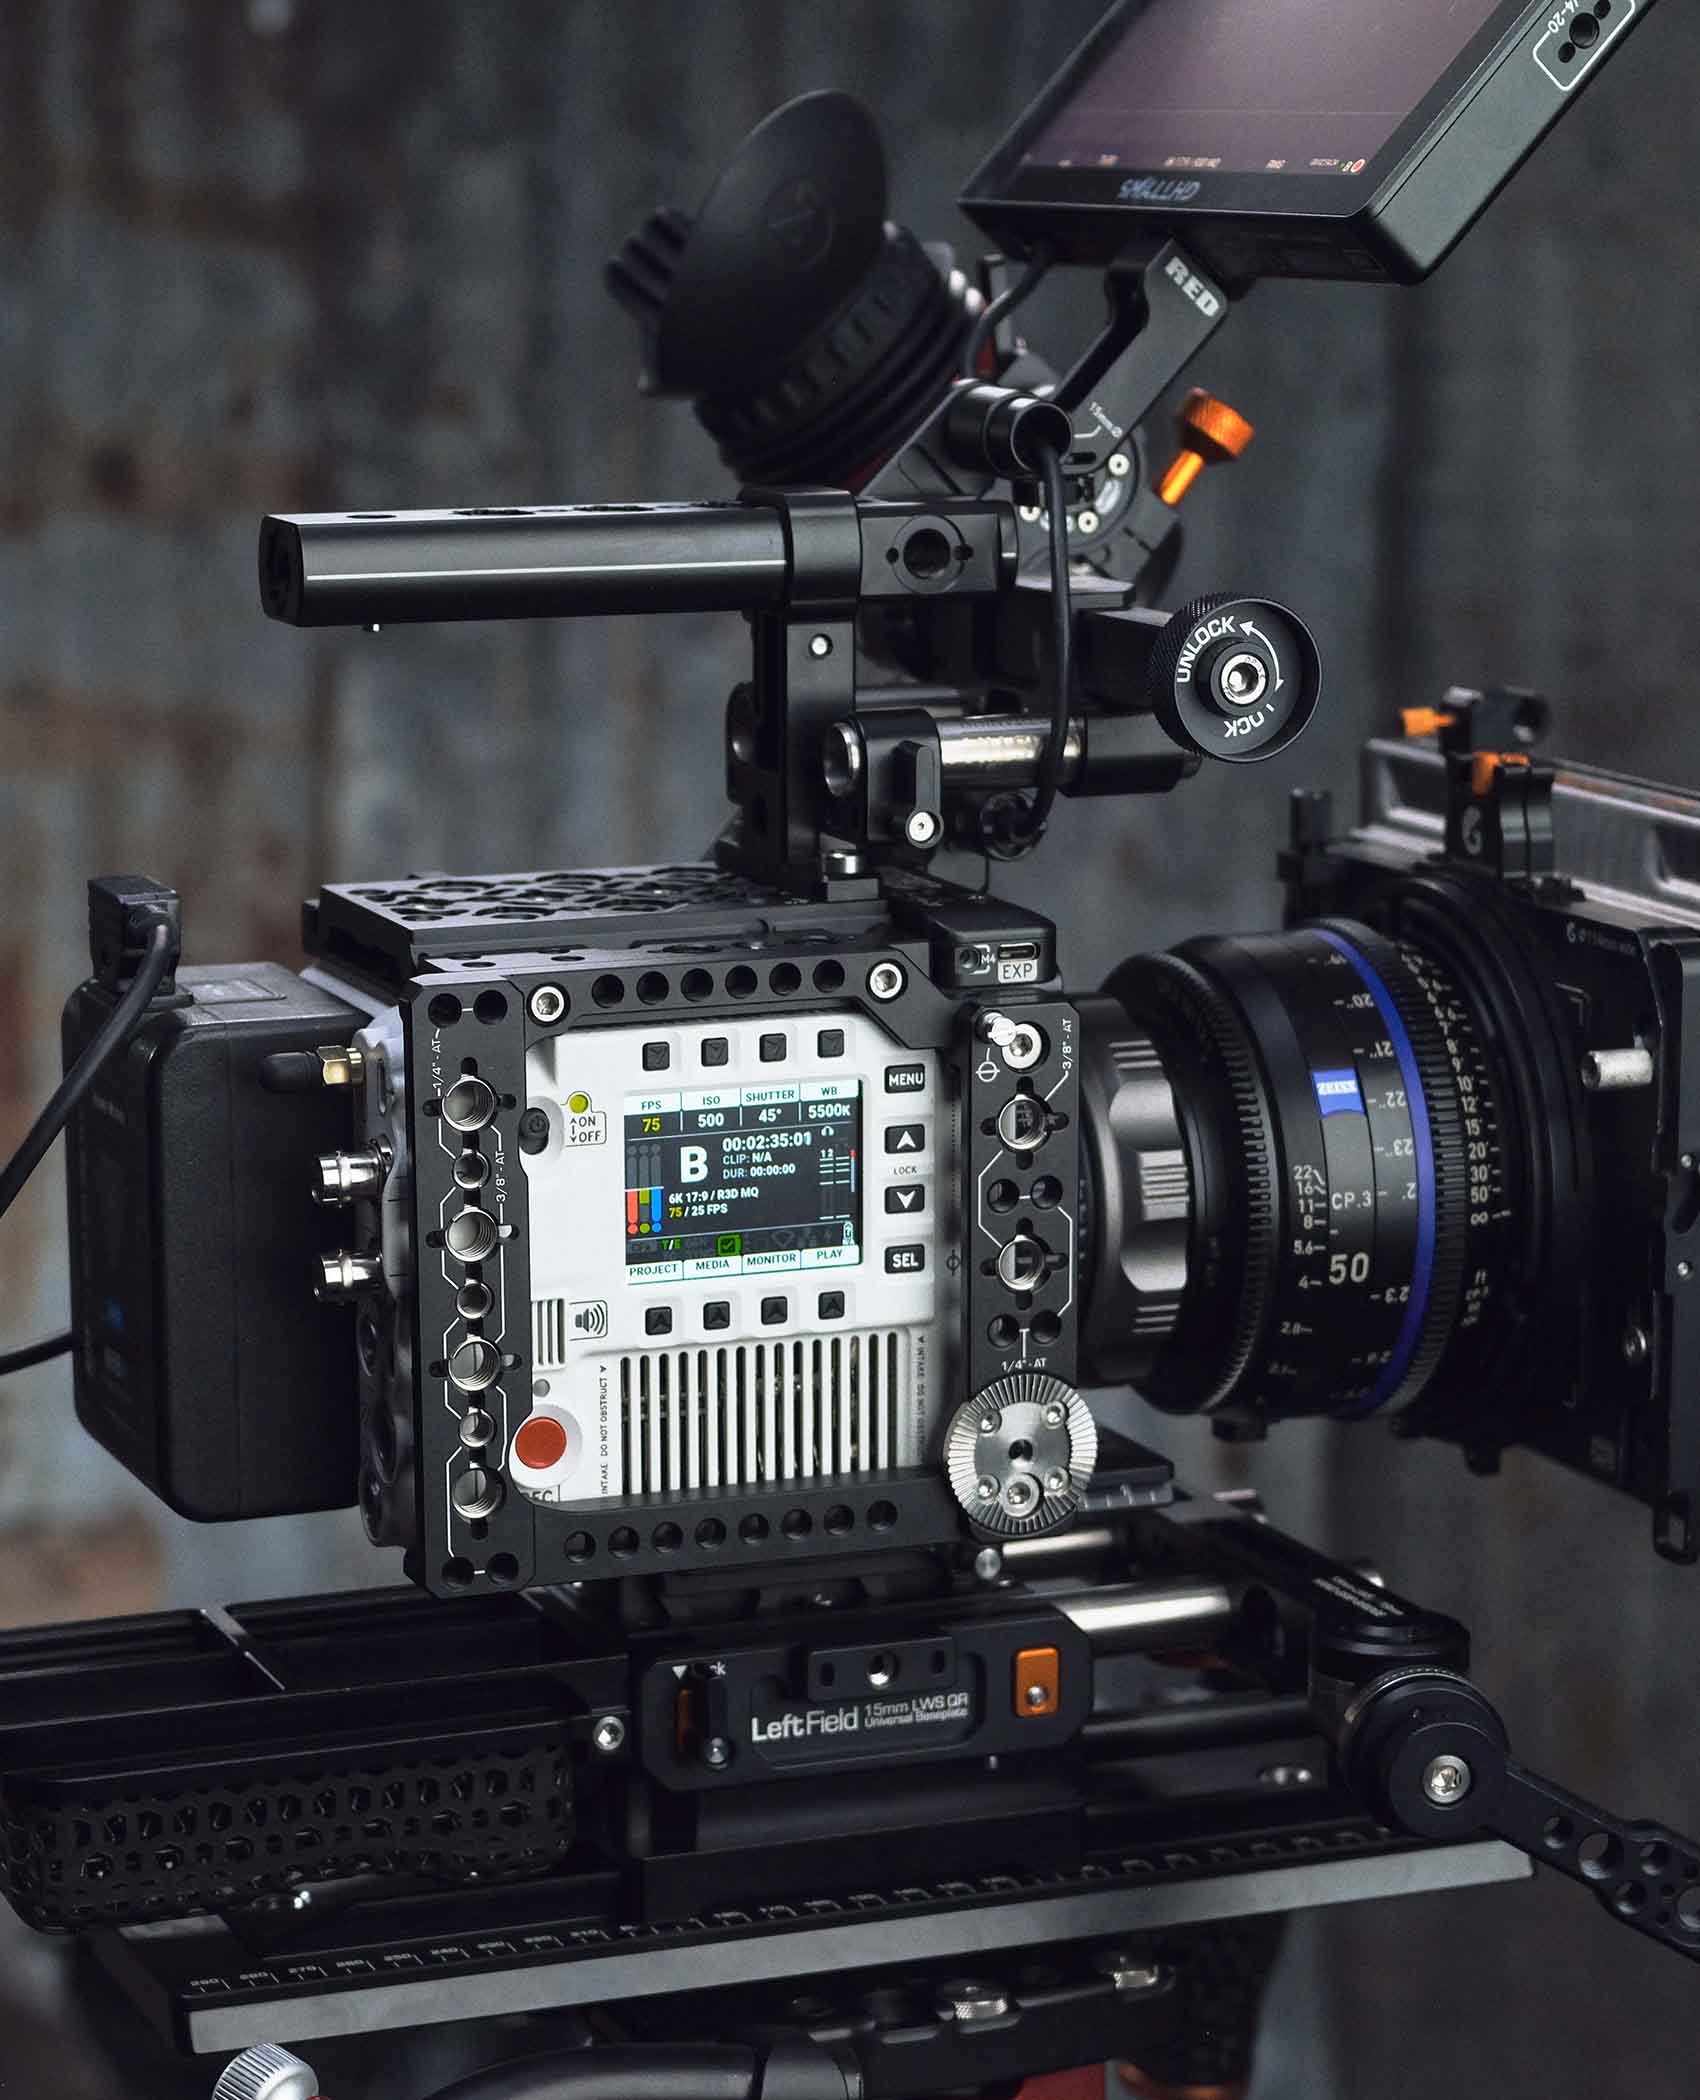
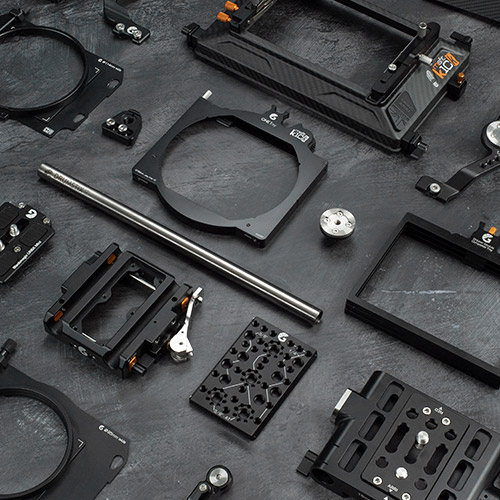
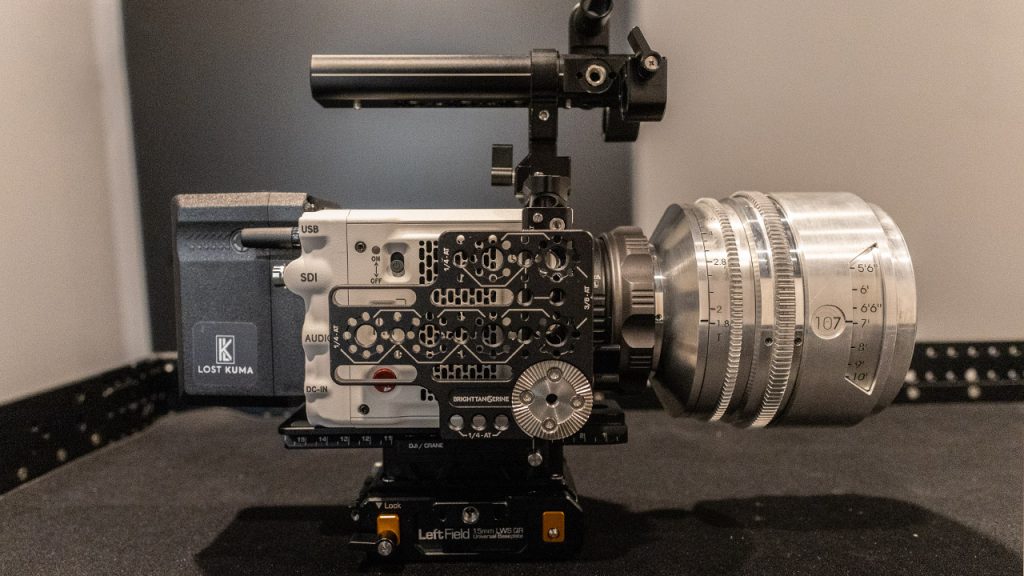
Fitting out a RED KOMODO-X Cage
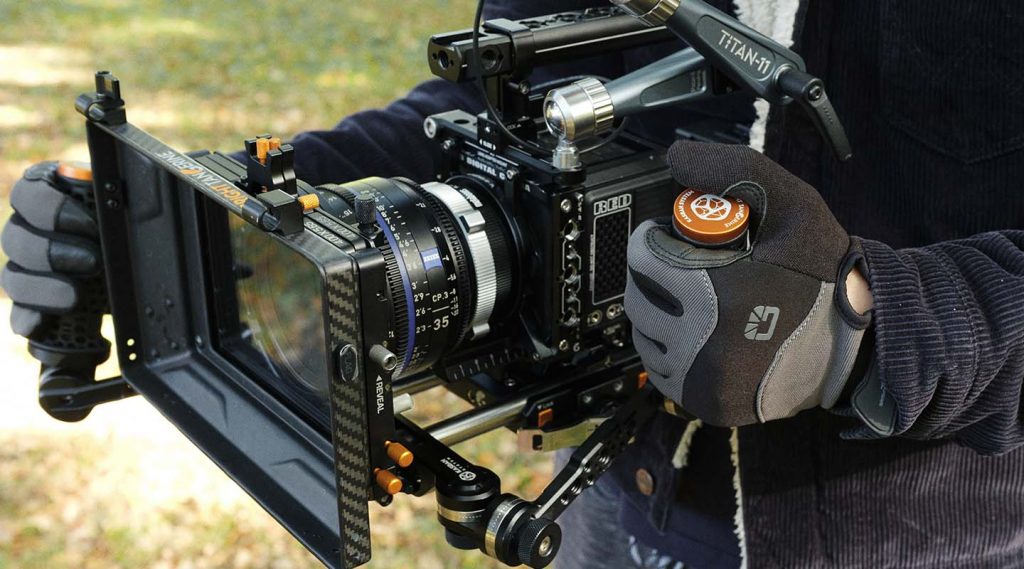
If you’re in the market for a brand-new KOMODO-X and want to kit it out from scratch, we have some fantastic kit offerings that will make the process a lot easier.
You can choose from a range of accessories such as the KASBAH support system, matte boxes, brackets, and much more, all of which are compatible with the KOMODO-X. With our kit offerings, you can take your KOMODO-X to the next level and unlock its full potential.
Compatibility Table
Here is a comprehensive list of accessories and their compatibility with the RED KOMODO, KOMODO-X, V-RAPTOR, and V-RAPTOR XL.
| SKU | Name | KOMODO-X | KOMODO | V-Raptor | V-Raptor XL |
|---|---|---|---|---|---|
| B4002.1007 | Top Rail for RED KOMODO & KOMODO-X | x | x | x | x |
| B4002.1008 | Left Side Rail for RED KOMODO & KOMODO-X | x | x | ||
| B4002.1009 | Right Side Rail for RED KOMODO & KOMODO-X | x | x | ||
| B4002.1018 | DJI RS 2 & 3 Riser for 15mm Baseplate (RED KOMODO & KOMODO-X) | x | x | ||
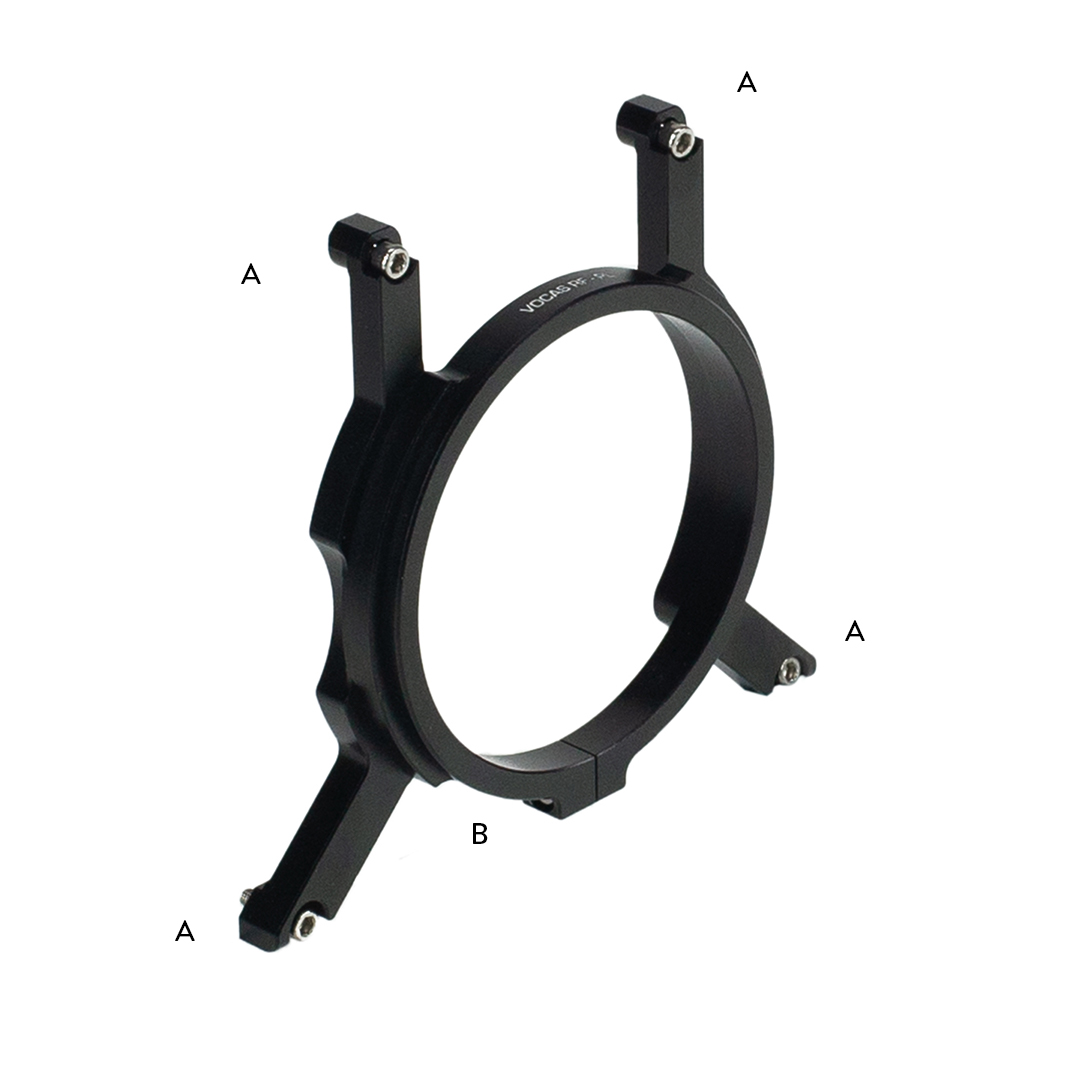
| B4002.1019 | Vocas RF-PL Support for RED KOMODO | x | |||
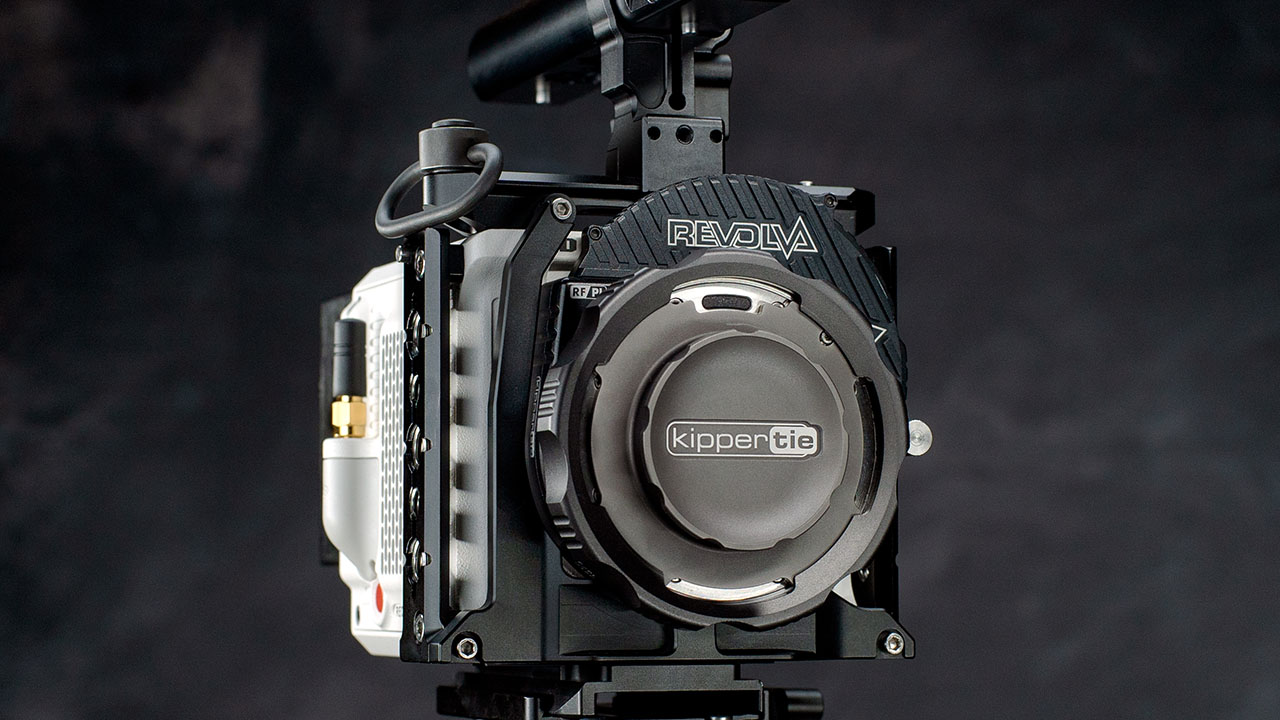
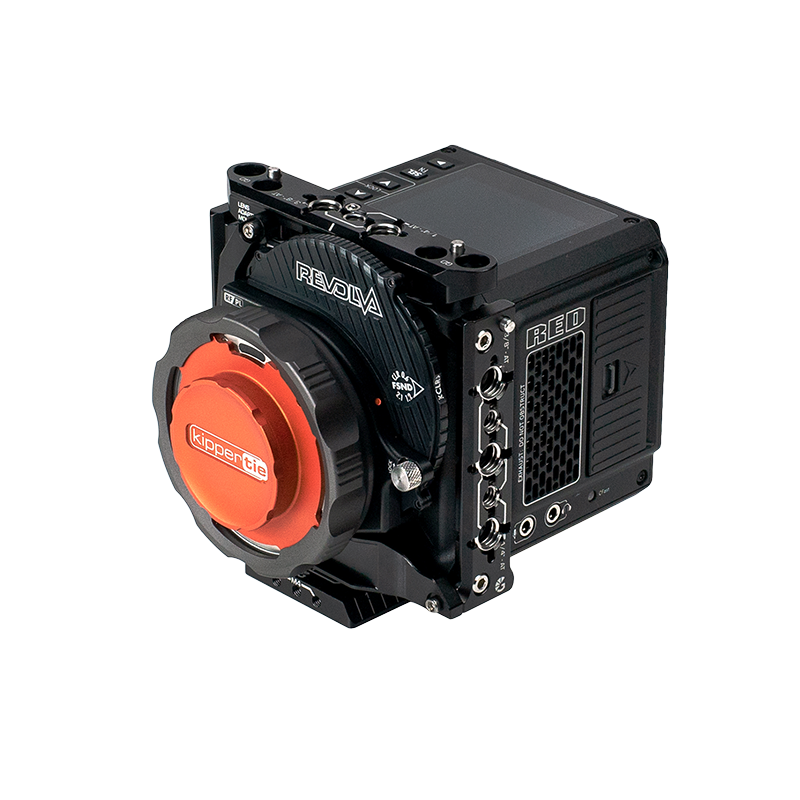
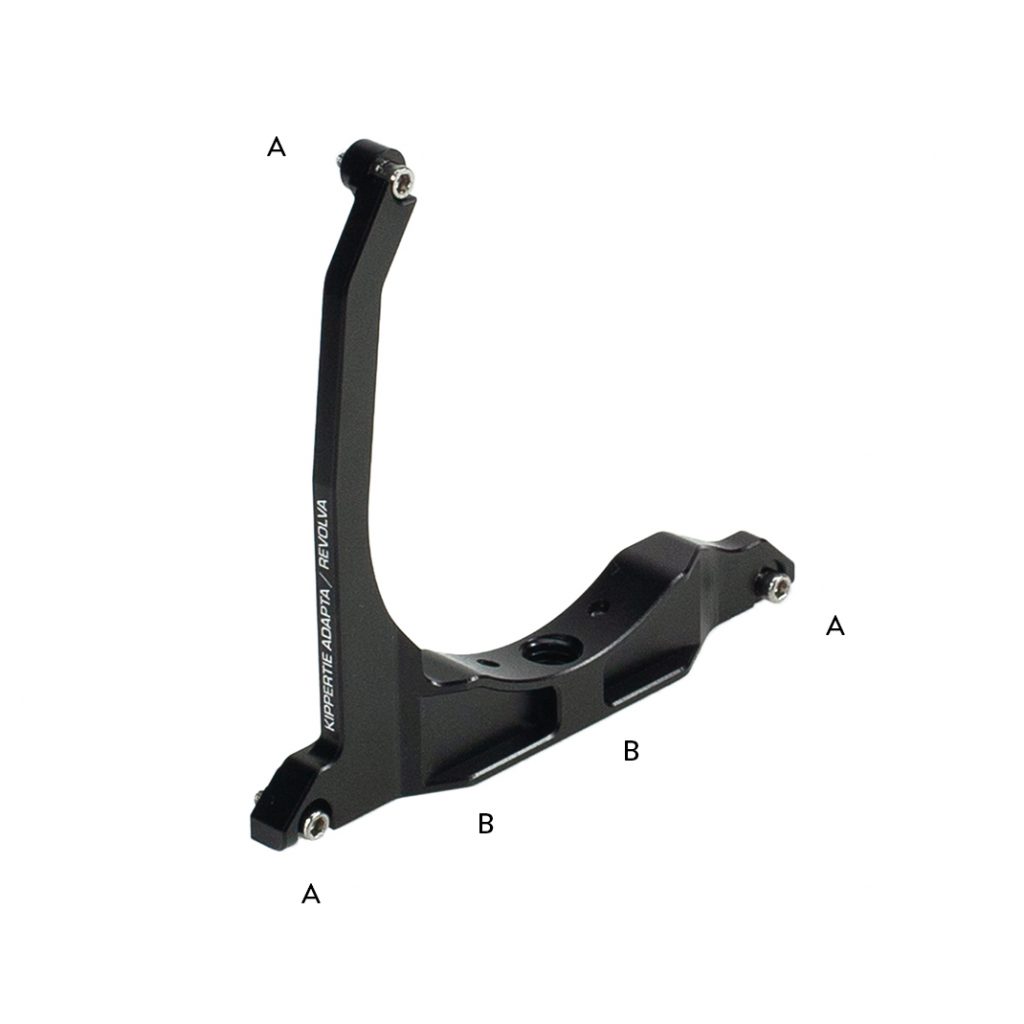
| B4002.1020 | KipperTie Revolva/Adapta RF Support for RED KOMODO | x | |||
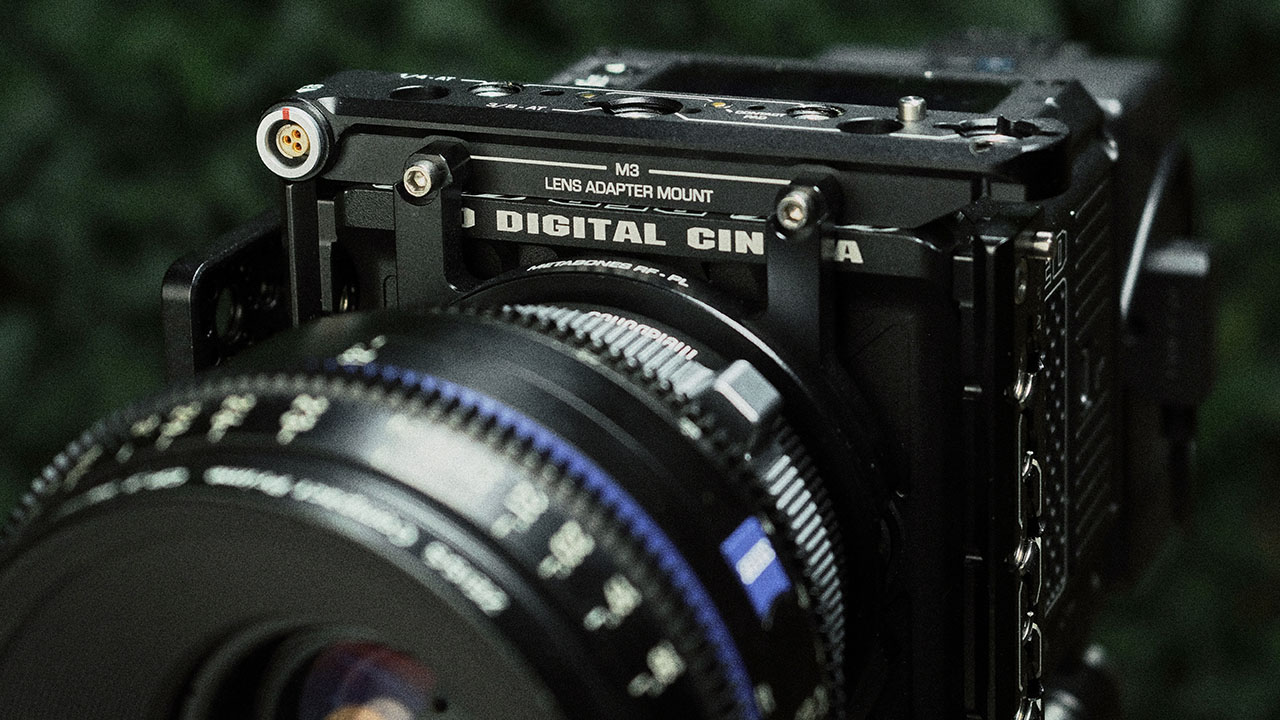
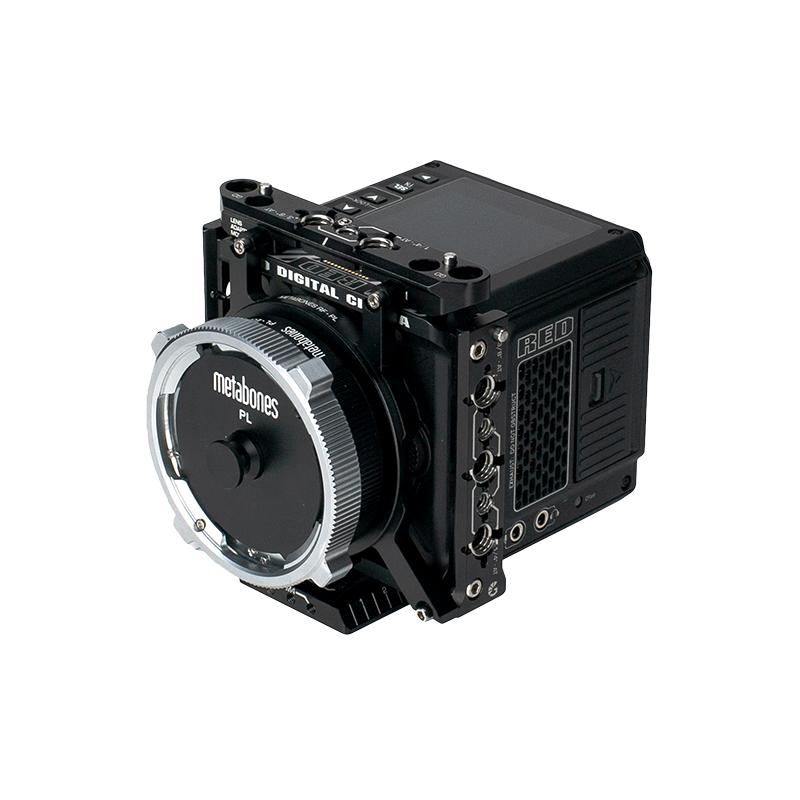
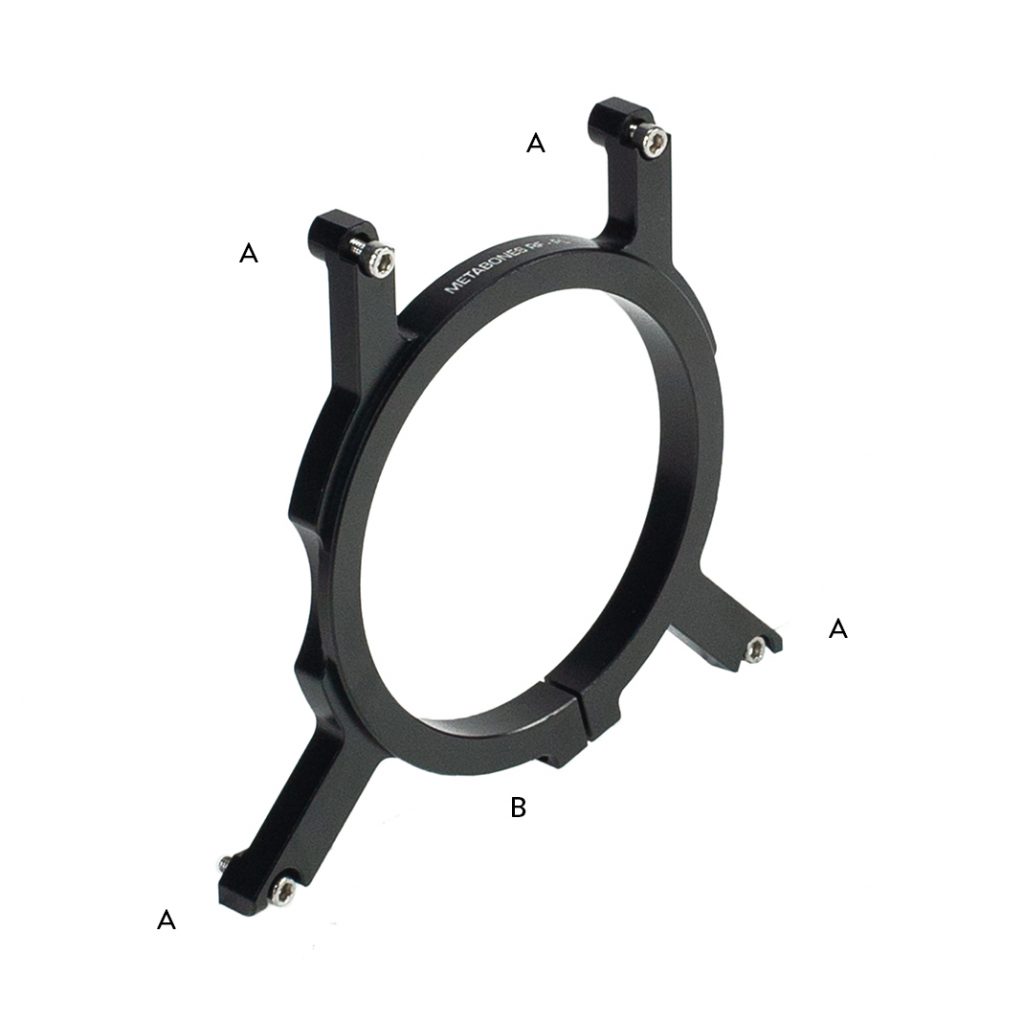
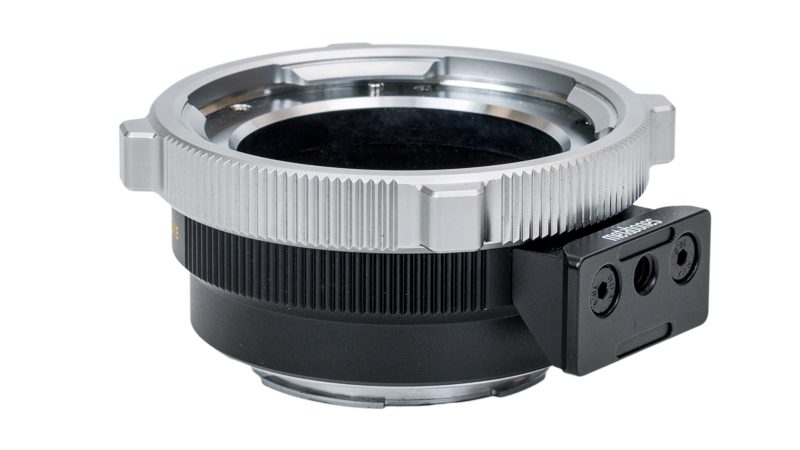
| B4002.1021 | Metabones RF-PL Support for RED KOMODO | x | |||
| B4002.1023 | Standard Riser for 15mm Baseplate for RED KOMODO | x | |||
| B4002.1123 | Standard Riser for 15mm Baseplate (RED KOMODO & KOMODO-X) | x | x | ||
| B4002.1025 | Cheeseplate for RED KOMODO & KOMODO-X | x | x | ||
| B4002.1026 | Canon 0.71x Expander Support for RED KOMODO | x | |||
| B4002.1027 | Run/Stop NATO Top Rail for DSMC3 | x | x | x | x |
| B4002.1030 | DJI RS 2 & RS 3 Dovetail for RED KOMODO | x | |||
| B4002.1031 | DJI RS 2 & RS 3 Extended Dovetail for RED KOMODO | x | |||
| B4002.1050 | Right Side Plate for RED V-RAPTOR | x | |||
| B4002.1051 | Right Side Horse Shoe for RED V-RAPTOR | x | |||
| B4002.1052 | Top Handle for DSMC3 | x | x | x | x |
| B4002.1053 | Sliding Top Plate for RED V-RAPTOR | x | |||
| B4002.1054 | Left Side Plate for RED V-RAPTOR | x | |||
| B4002.1058 | Universal Extended DJI Ronin 2 Dovetail | x | x | x | x |
| B4002.1059 | Universal Extended Manfrotto Dovetail | x | x | x | x |
| B4002.1061 | Universal Extended Movi Pro Camera Plate | x | x | x | x |
| B4002.1062 | RED V-RAPTOR (Manfrotto/DJI RS) Riser for 15mm Baseplate | x | |||
| B4002.1063 | RED V-RAPTOR (DJI Ronin 2) Riser for 15mm Baseplate | x | |||
| B4002.1065 | RED V-RAPTOR (Movi Pro) Riser for 15mm Baseplate | x | |||
| B4002.1066 | Top Bar Bracket for DSMC3 | x | x | x | x |
| B4002.1068 | Monitor Mount for DSMC3 RED Touch 7″ | x | x | x | x |
| B4002.1069 | Standard Riser for RED V-RAPTOR | x | |||
| B4002.1070 | Top Plate QR Dovetail | x | |||
| B4002.1071 | Universal Extended DJI RS 2 & RS 3 Dovetail | x | x | x | x |
| B4002.0015 | Side Plate Kit for RED KOMODO & KOMODO-X | x | x | ||
| B4002.0009 | Essentials Kit for RED KOMODO & KOMODO-X | x | x | ||
| B4002.0018 | 15mm Top Plate Kit for RED KOMODO & KOMODO-X | x | x | x | x |
| B4002.0017 | Top Plate Kit for RED KOMODO & KOMODO-X | x | x | x | x |
| B4002.0110 | LeftField 3 Base Kit for RED KOMODO | x | |||
| B4002.0122 | LeftField 3 Expert Kit for RED KOMODO (DJI RS 2 & RS 3) | x | |||
| B4002.0123 | LeftField 3 Advanced Kit for RED KOMODO (DJI RS 2 & RS 3) | x | |||
| B4002.0210 | LeftField 3 Base Kit for RED KOMODO & KOMODO-X | x | x | ||
| B4002.0223 | LeftField 3 Advanced Kit for RED KOMODO & KOMODO-X (DJI RS 2 & RS 3) | x | x | ||
| B4002.0222 | LeftField 3 Expert Kit for RED KOMODO & KOMODO-X (DJI RS 2 & RS 3) | x | x | ||
| B4002.0020 | Riser Kit for 15mm Baseplate for RED KOMODO (DJI RS 2 & RS 3) | x | |||
| B4002.0113 | LeftField 3 QR Baseplate (Standard) for RED KOMODO | x | |||
| B4002.0121 | LeftField 3 QR Baseplate for RED KOMODO (DJI RS 2 & RS 3) | x | |||
| B4002.0213 | LeftField 3 QR Baseplate (Standard) for RED KOMODO & KOMODO-X | x | x | ||
| B4002.0221 | LeftField 3 QR Baseplate for RED KOMODO & KOMODO-X (DJI RS 2 & RS 3) | x | x |
Share: