


Search Results for:
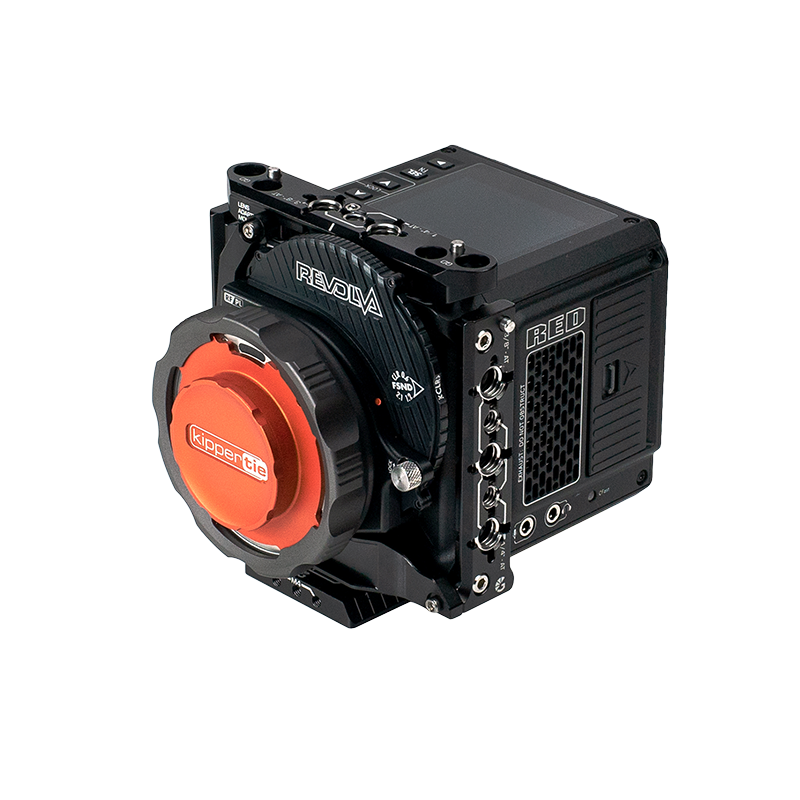
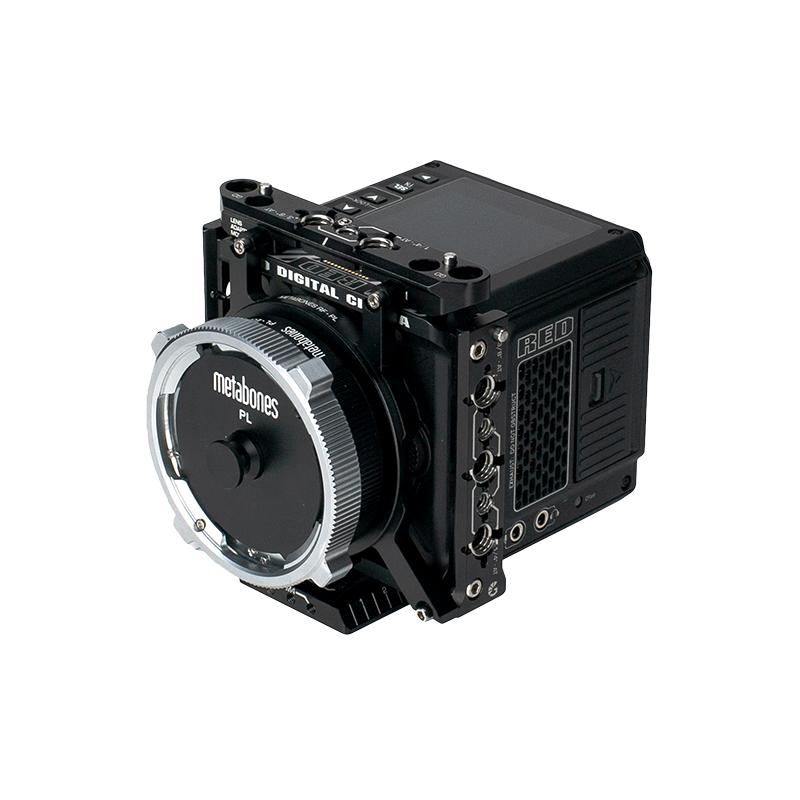
Installation guide for RED KOMODO Metabones RF-PL Adapter Support
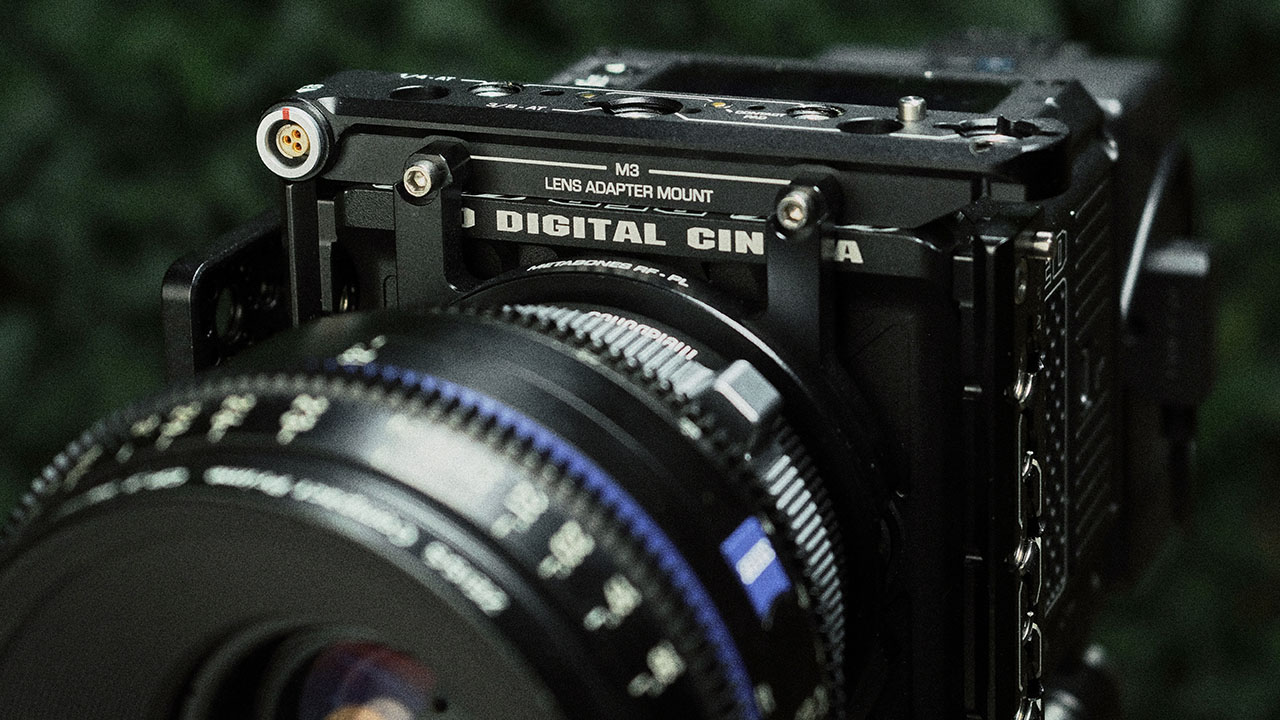
The RF mount on the Komodo is a sprung mount system, and relies on small springs inside the mount to pull the adapter into the right place.
If the adapter support is installed incorrectly, it can result in the lens adapter being pushed or tilted in the wrong direction, which can result in focus and other optical issues.
The following installation sequence must be followed in order to ensure that the adapter is supported correctly on the camera body.
B4002.1021 RED KOMODO Metabones RF-PL Support is not compatible with Metabones Canon EF Lens to RF-mount T Speed Booster® ULTRA 0.71x (EOS R).
Required Tools
You will need to use a 2.5mm Hex Key.
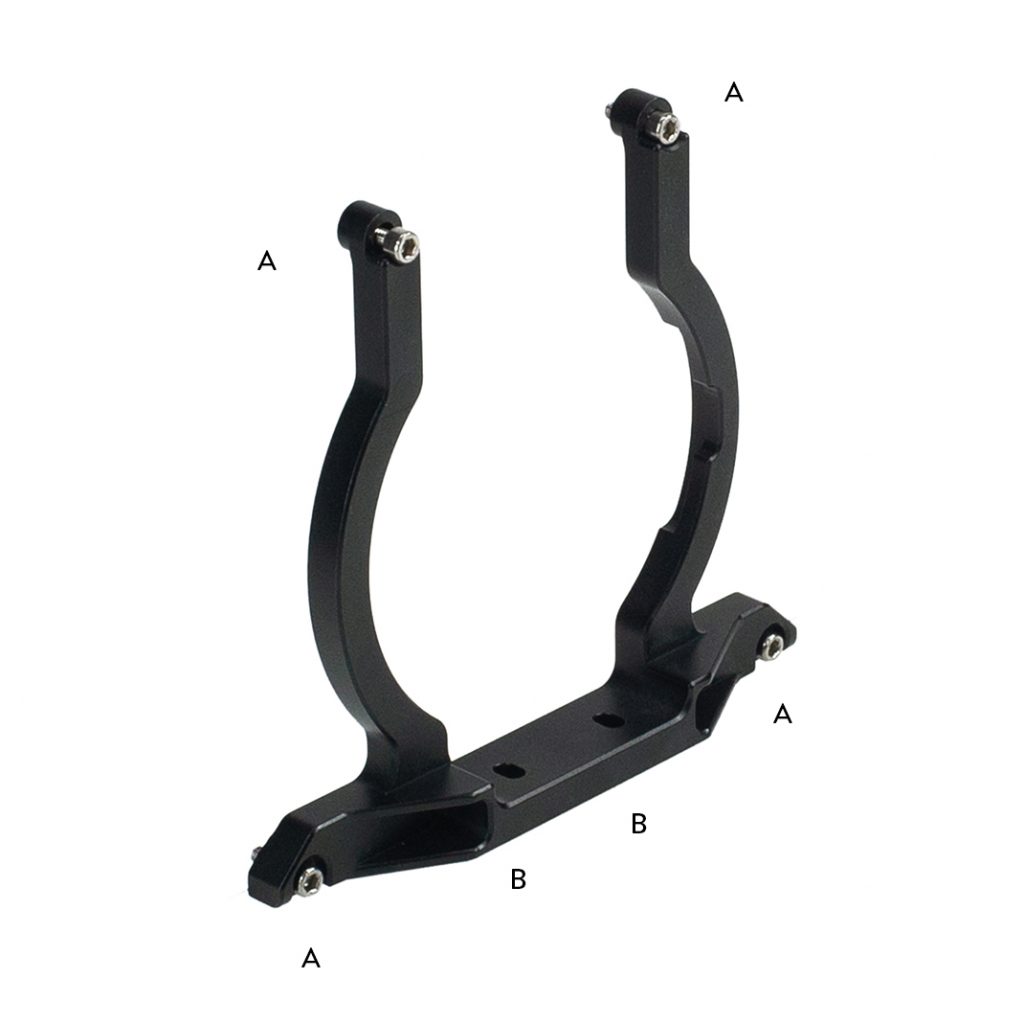
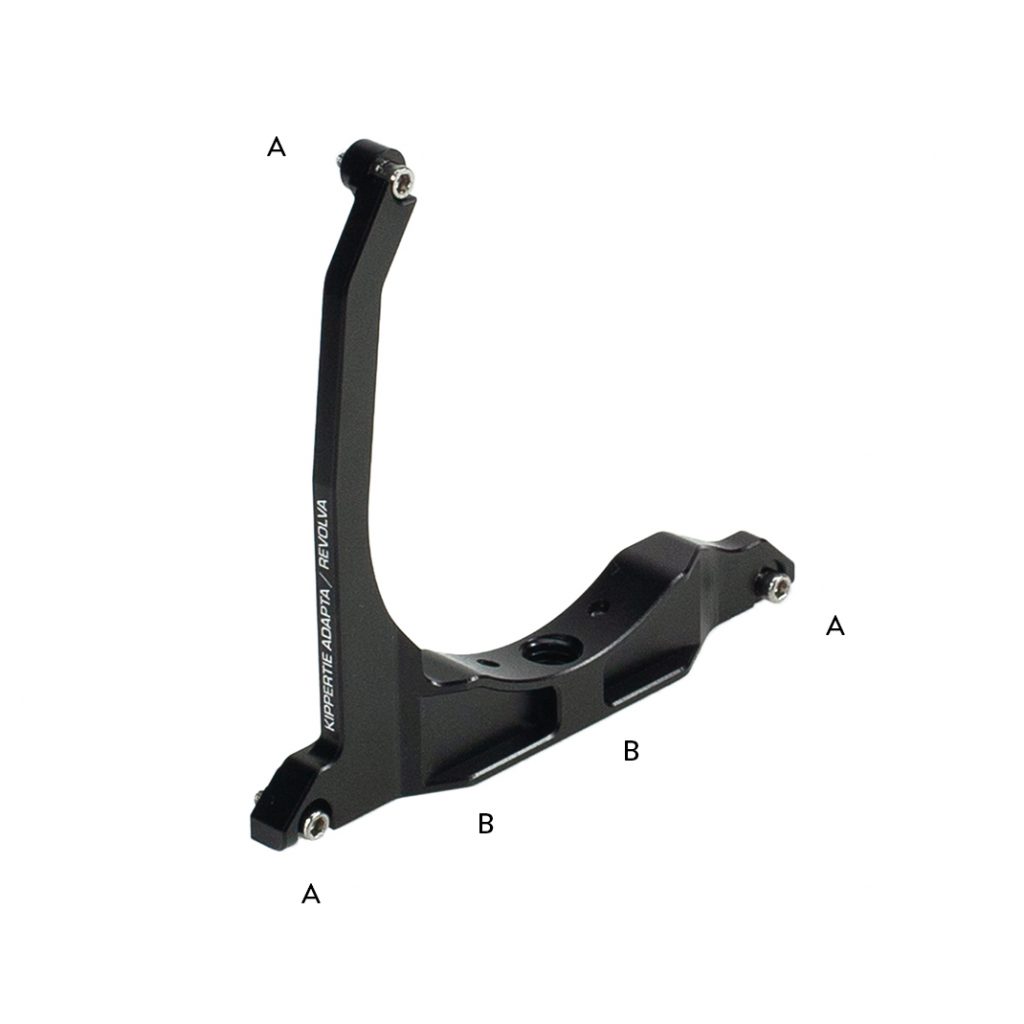
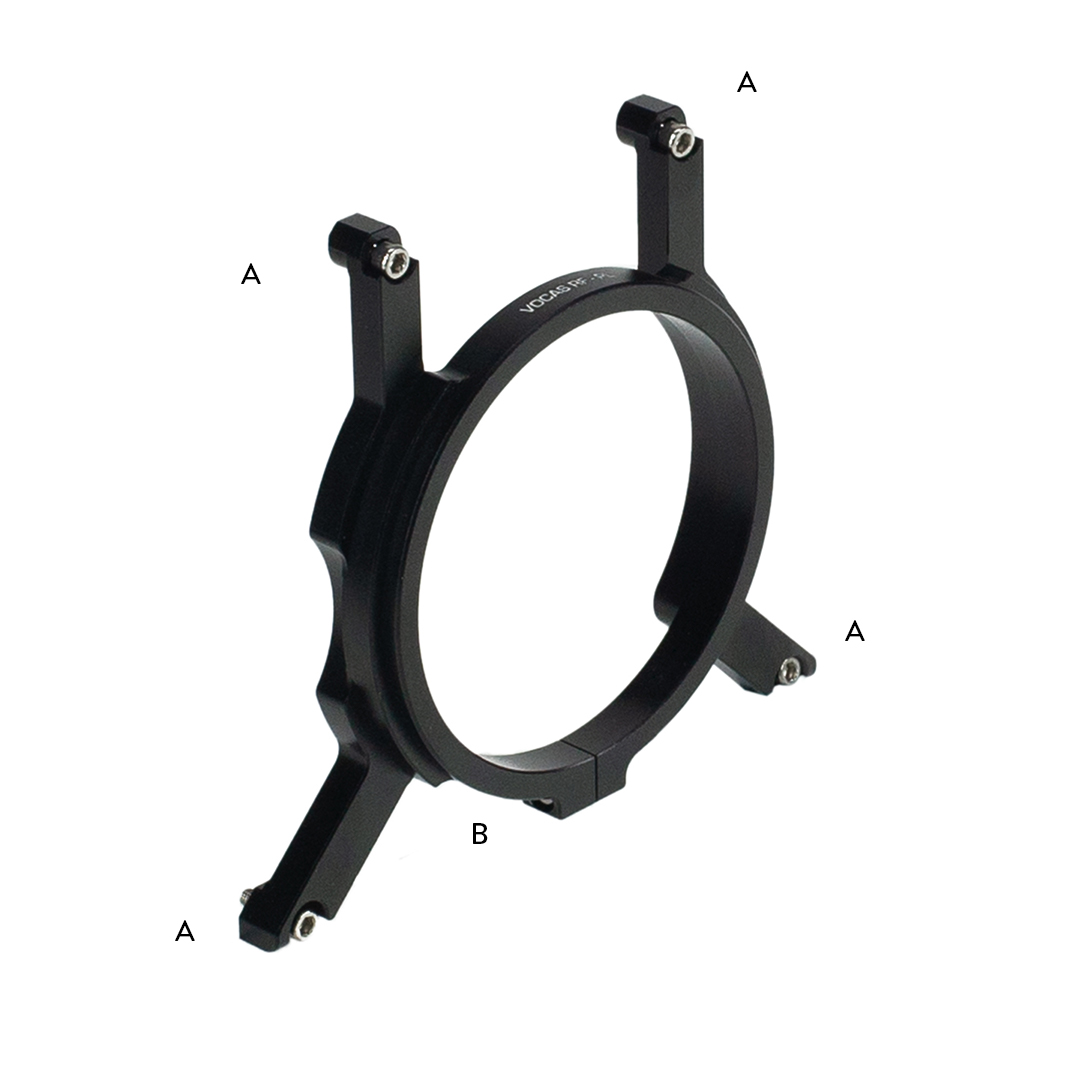
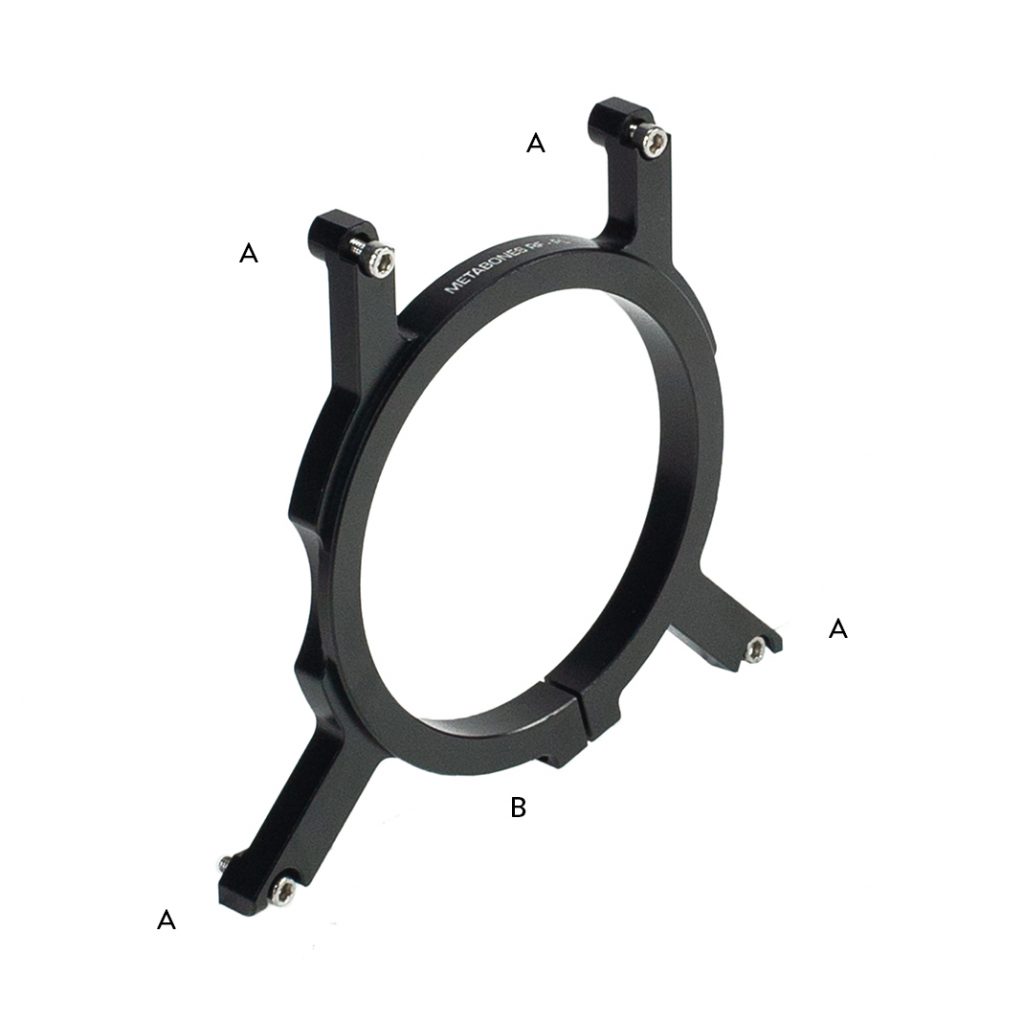
A – Mount Screw – M3x10mm – 2.5mm Hex
B – Clamp Screw – M3x10mm – 2.5mm Hex
Installation Steps
Step 1
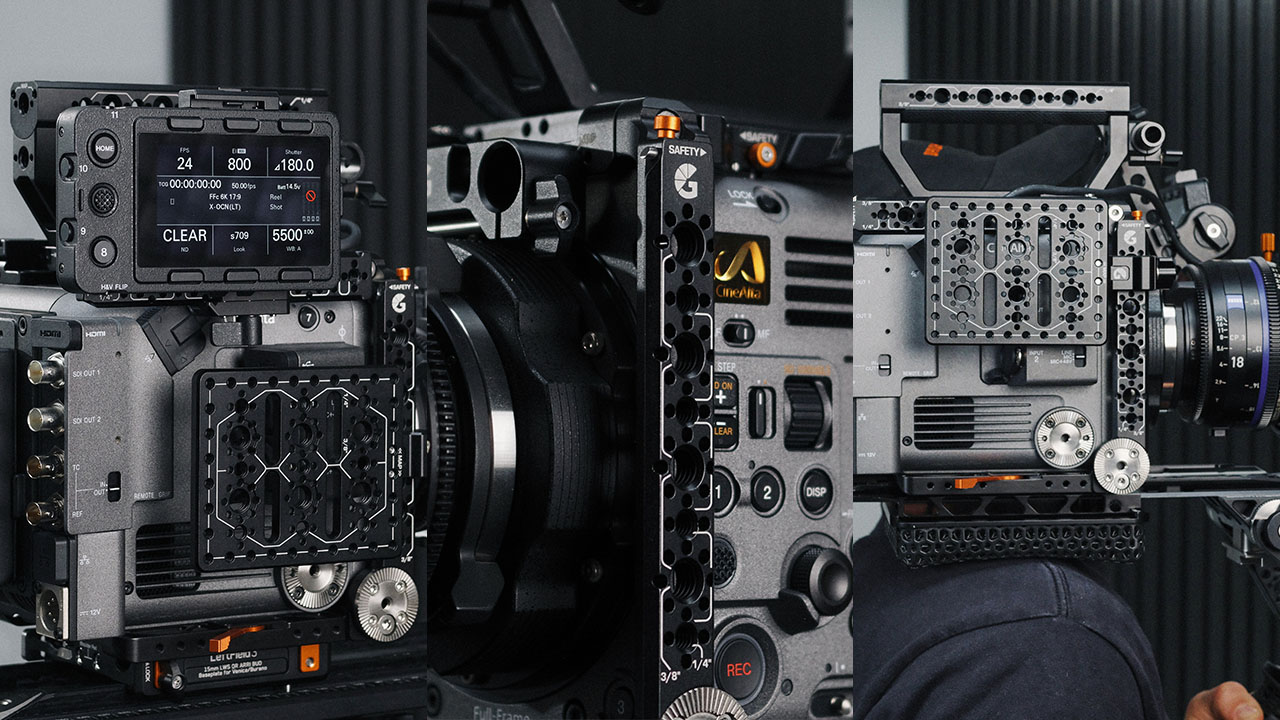
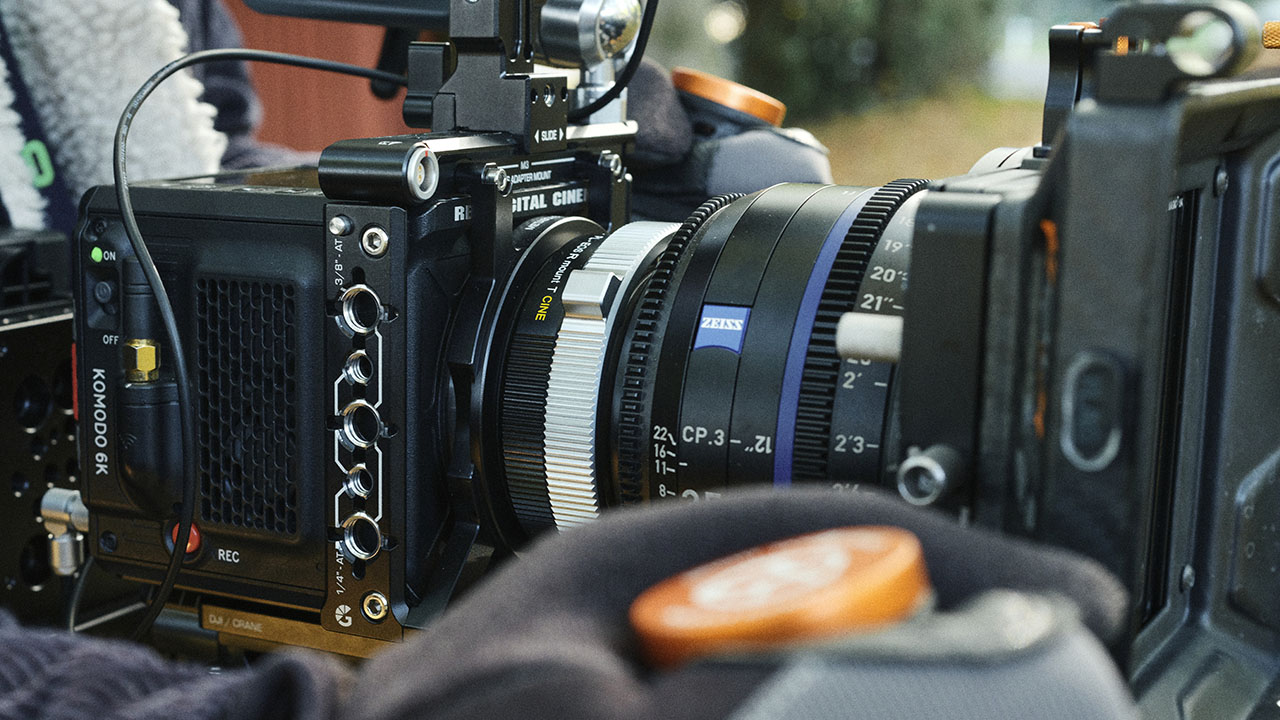
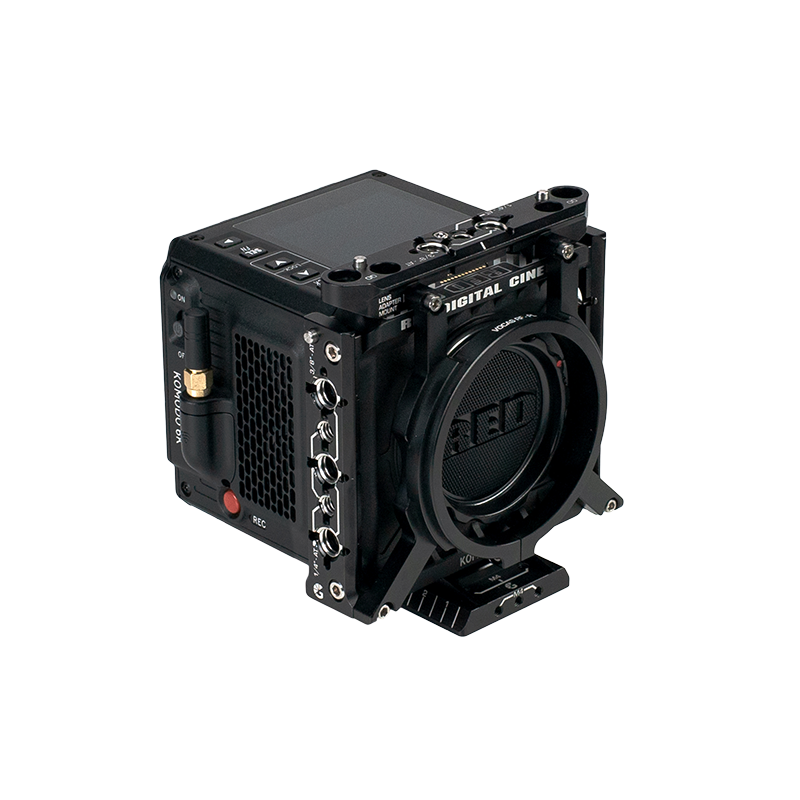
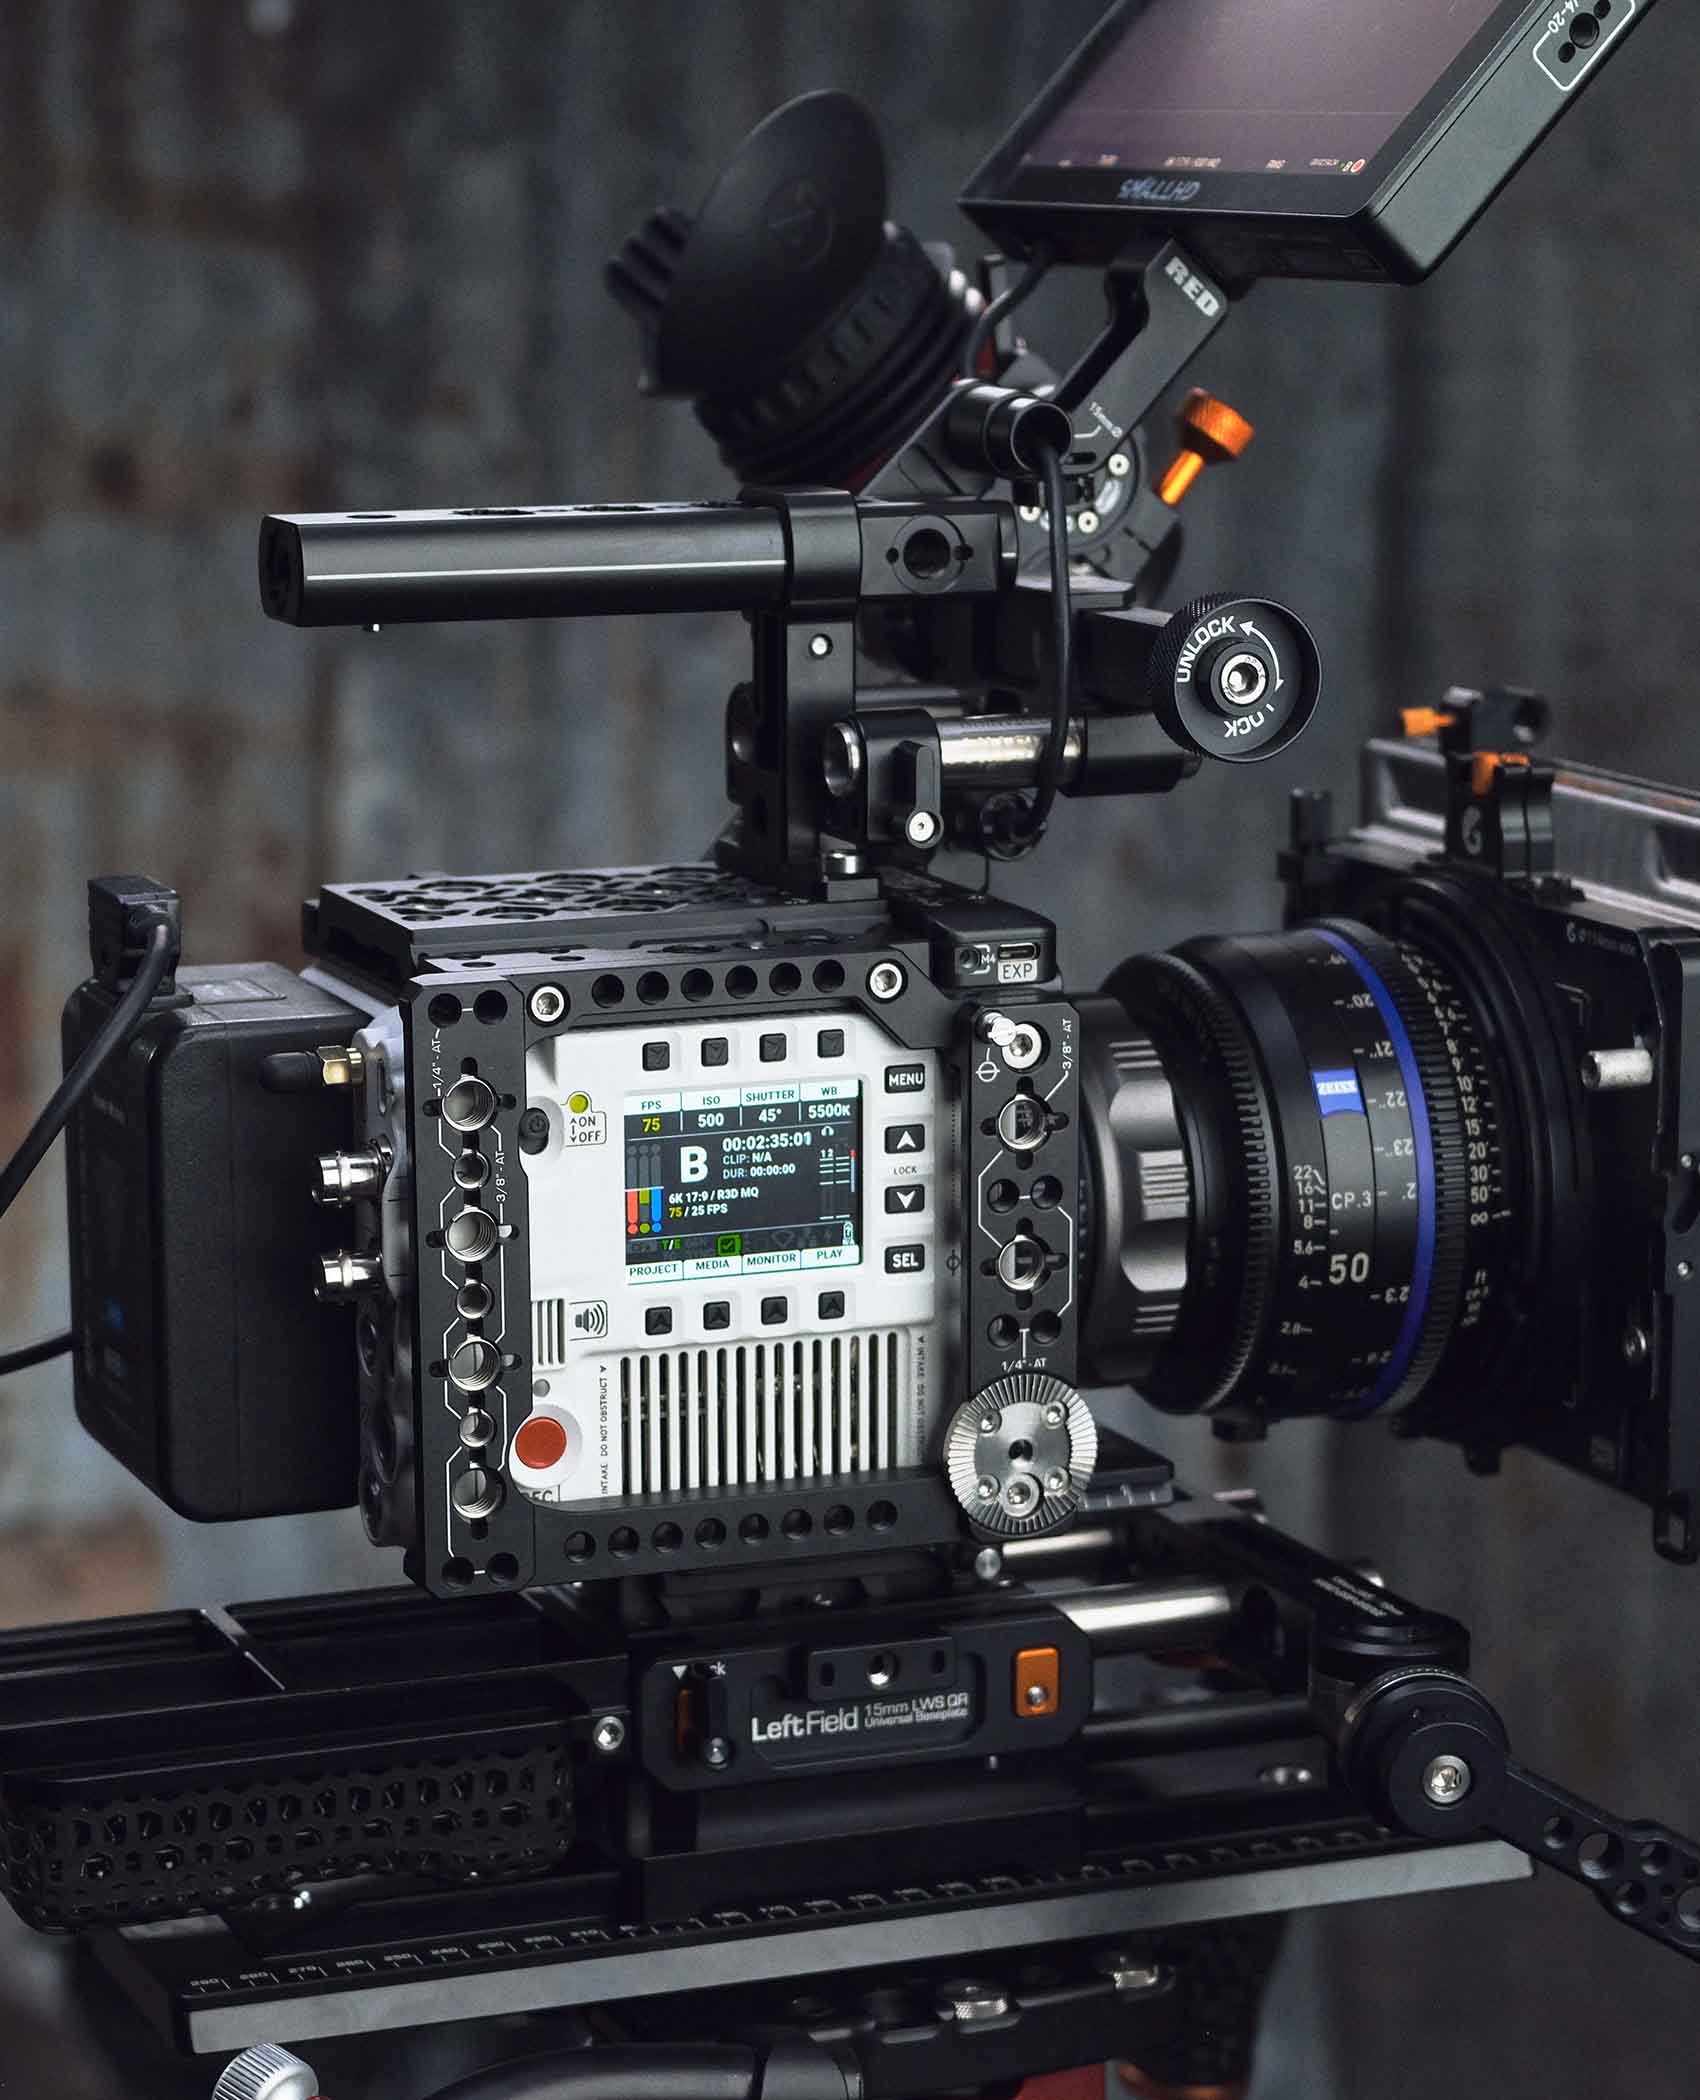
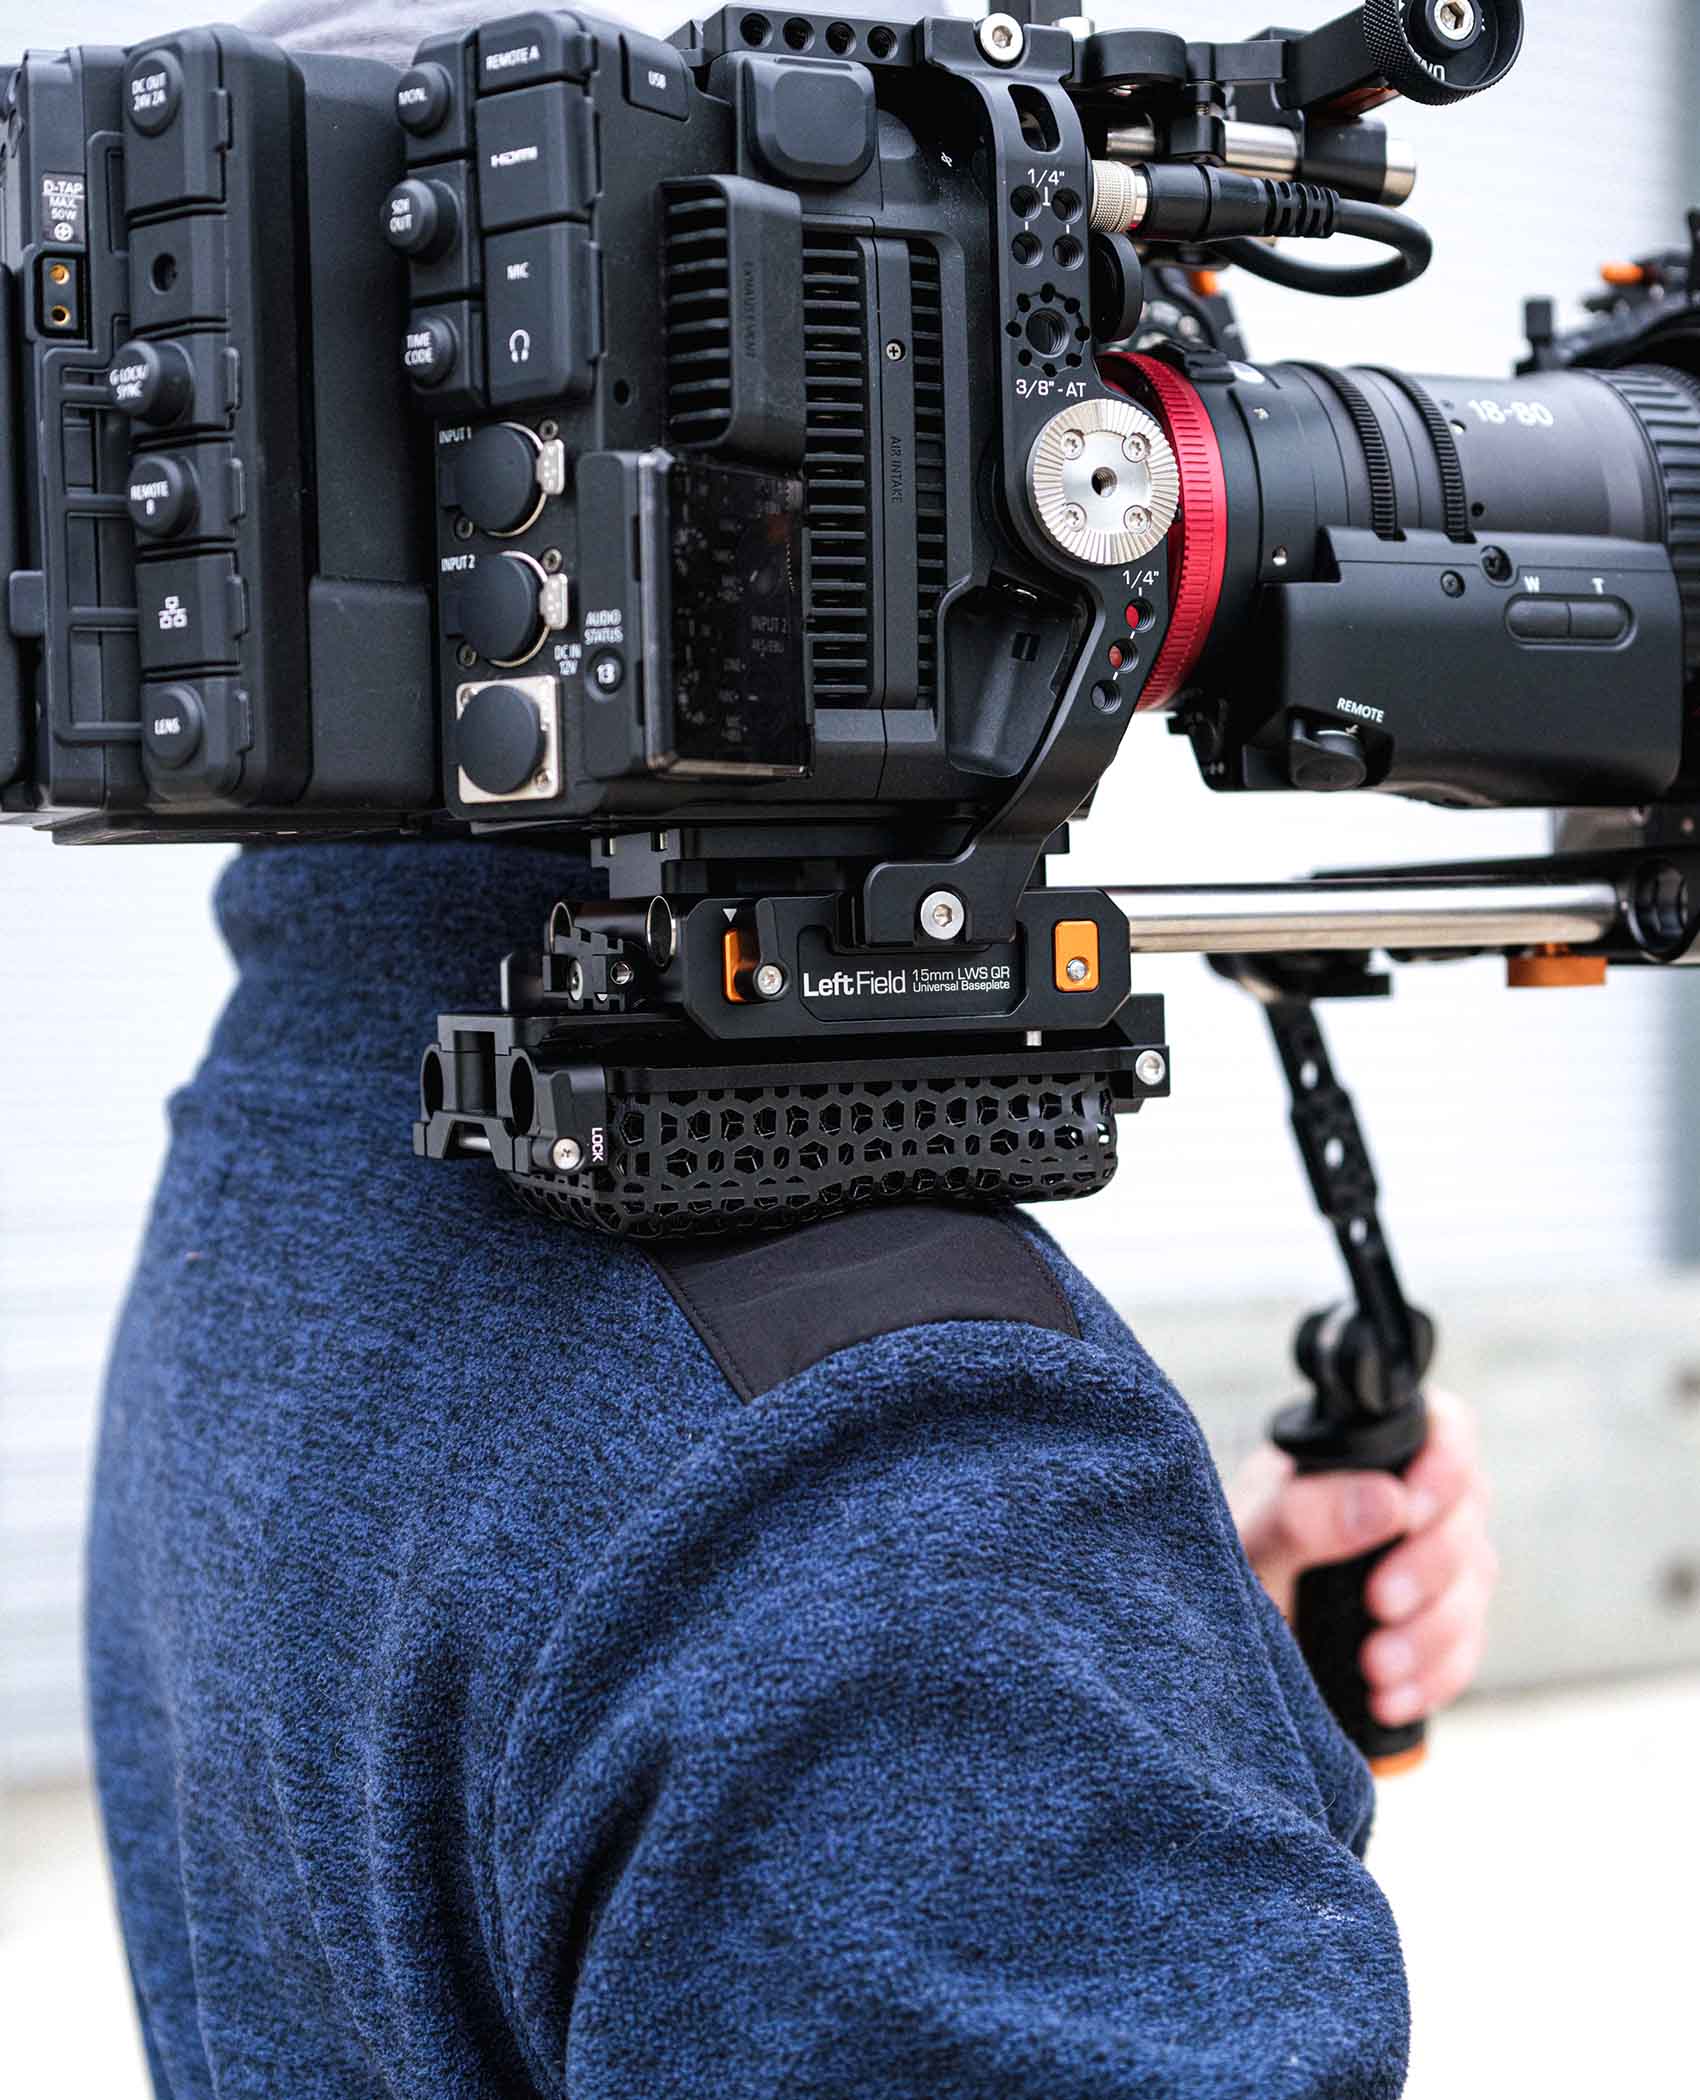
Prepare the RED Komodo with the required plates. Ensure all the plates are secured and tight.
Step 2
Remove the Metabones tripod foot by loosening the two screws with the 2.5mm Hex Key.
Step 3
Using a 2.5mm Hex key, mount the support to the camera using the four screws (A) but do not tighten fully at this point.
Step 4
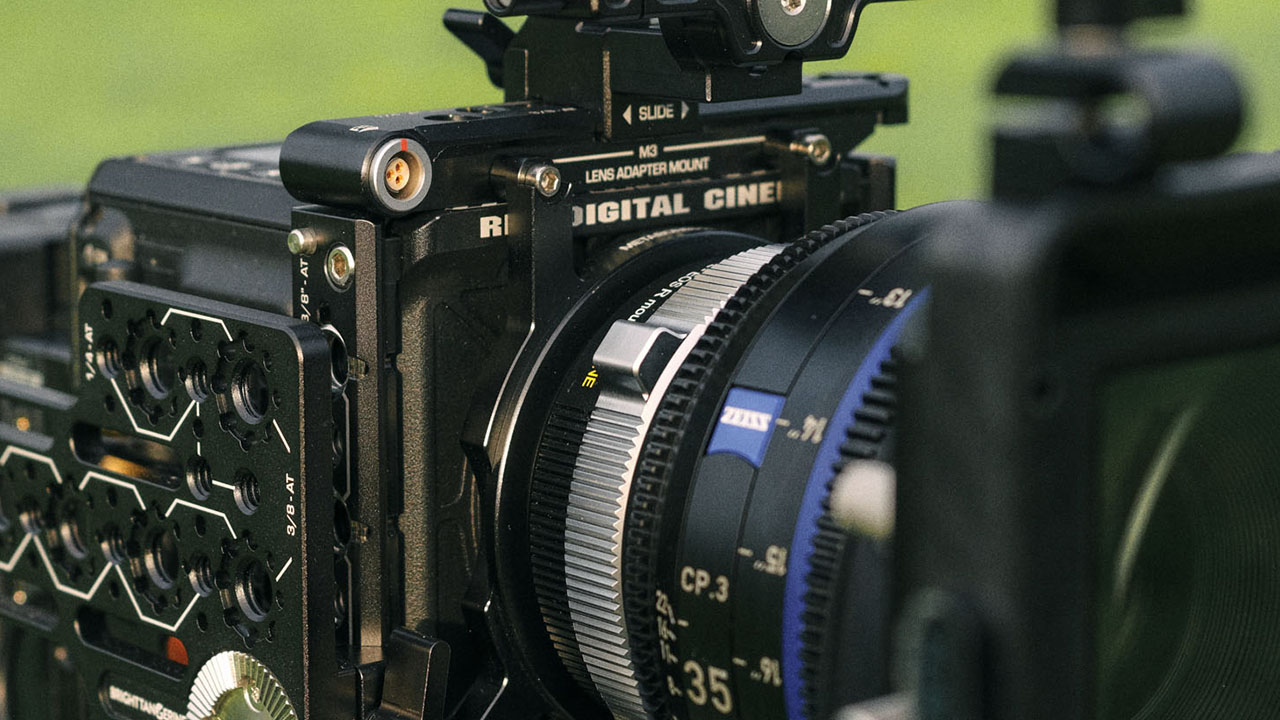
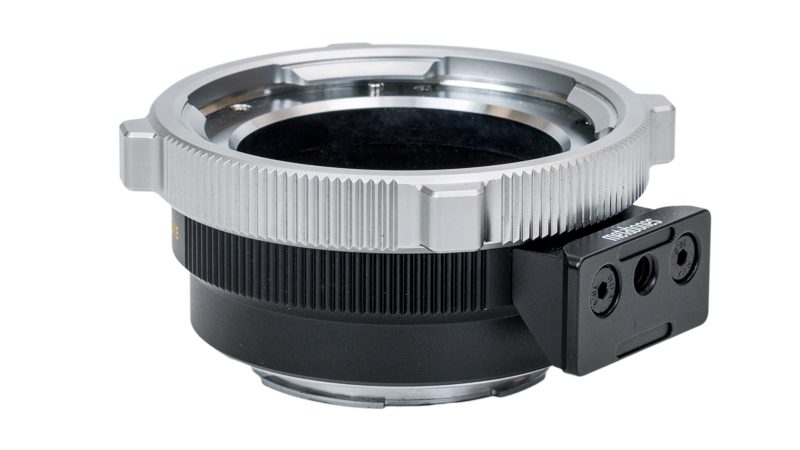
Install the lens adapter into the camera, allowing it to twist onto the camera body and click into place.
Step 5
Using the 2.5mm Hex key, gently tighten the clamping screw (B) on the support so that it starts to hold onto the adapter.
Step 6
Tighten up the mounting screws (A) on the side & top plate in a criss-cross pattern.
Step 7
Fully tighten the clamp screw (B) on the adapter support.
Step 8
To remove the support. First, loosen the clamp screw (B) before loosening the mounting screws (A) on the side & top plate.
Share: