


Search Results for:
DJI RS 4, RS 3 & RS 2 Washer Plate

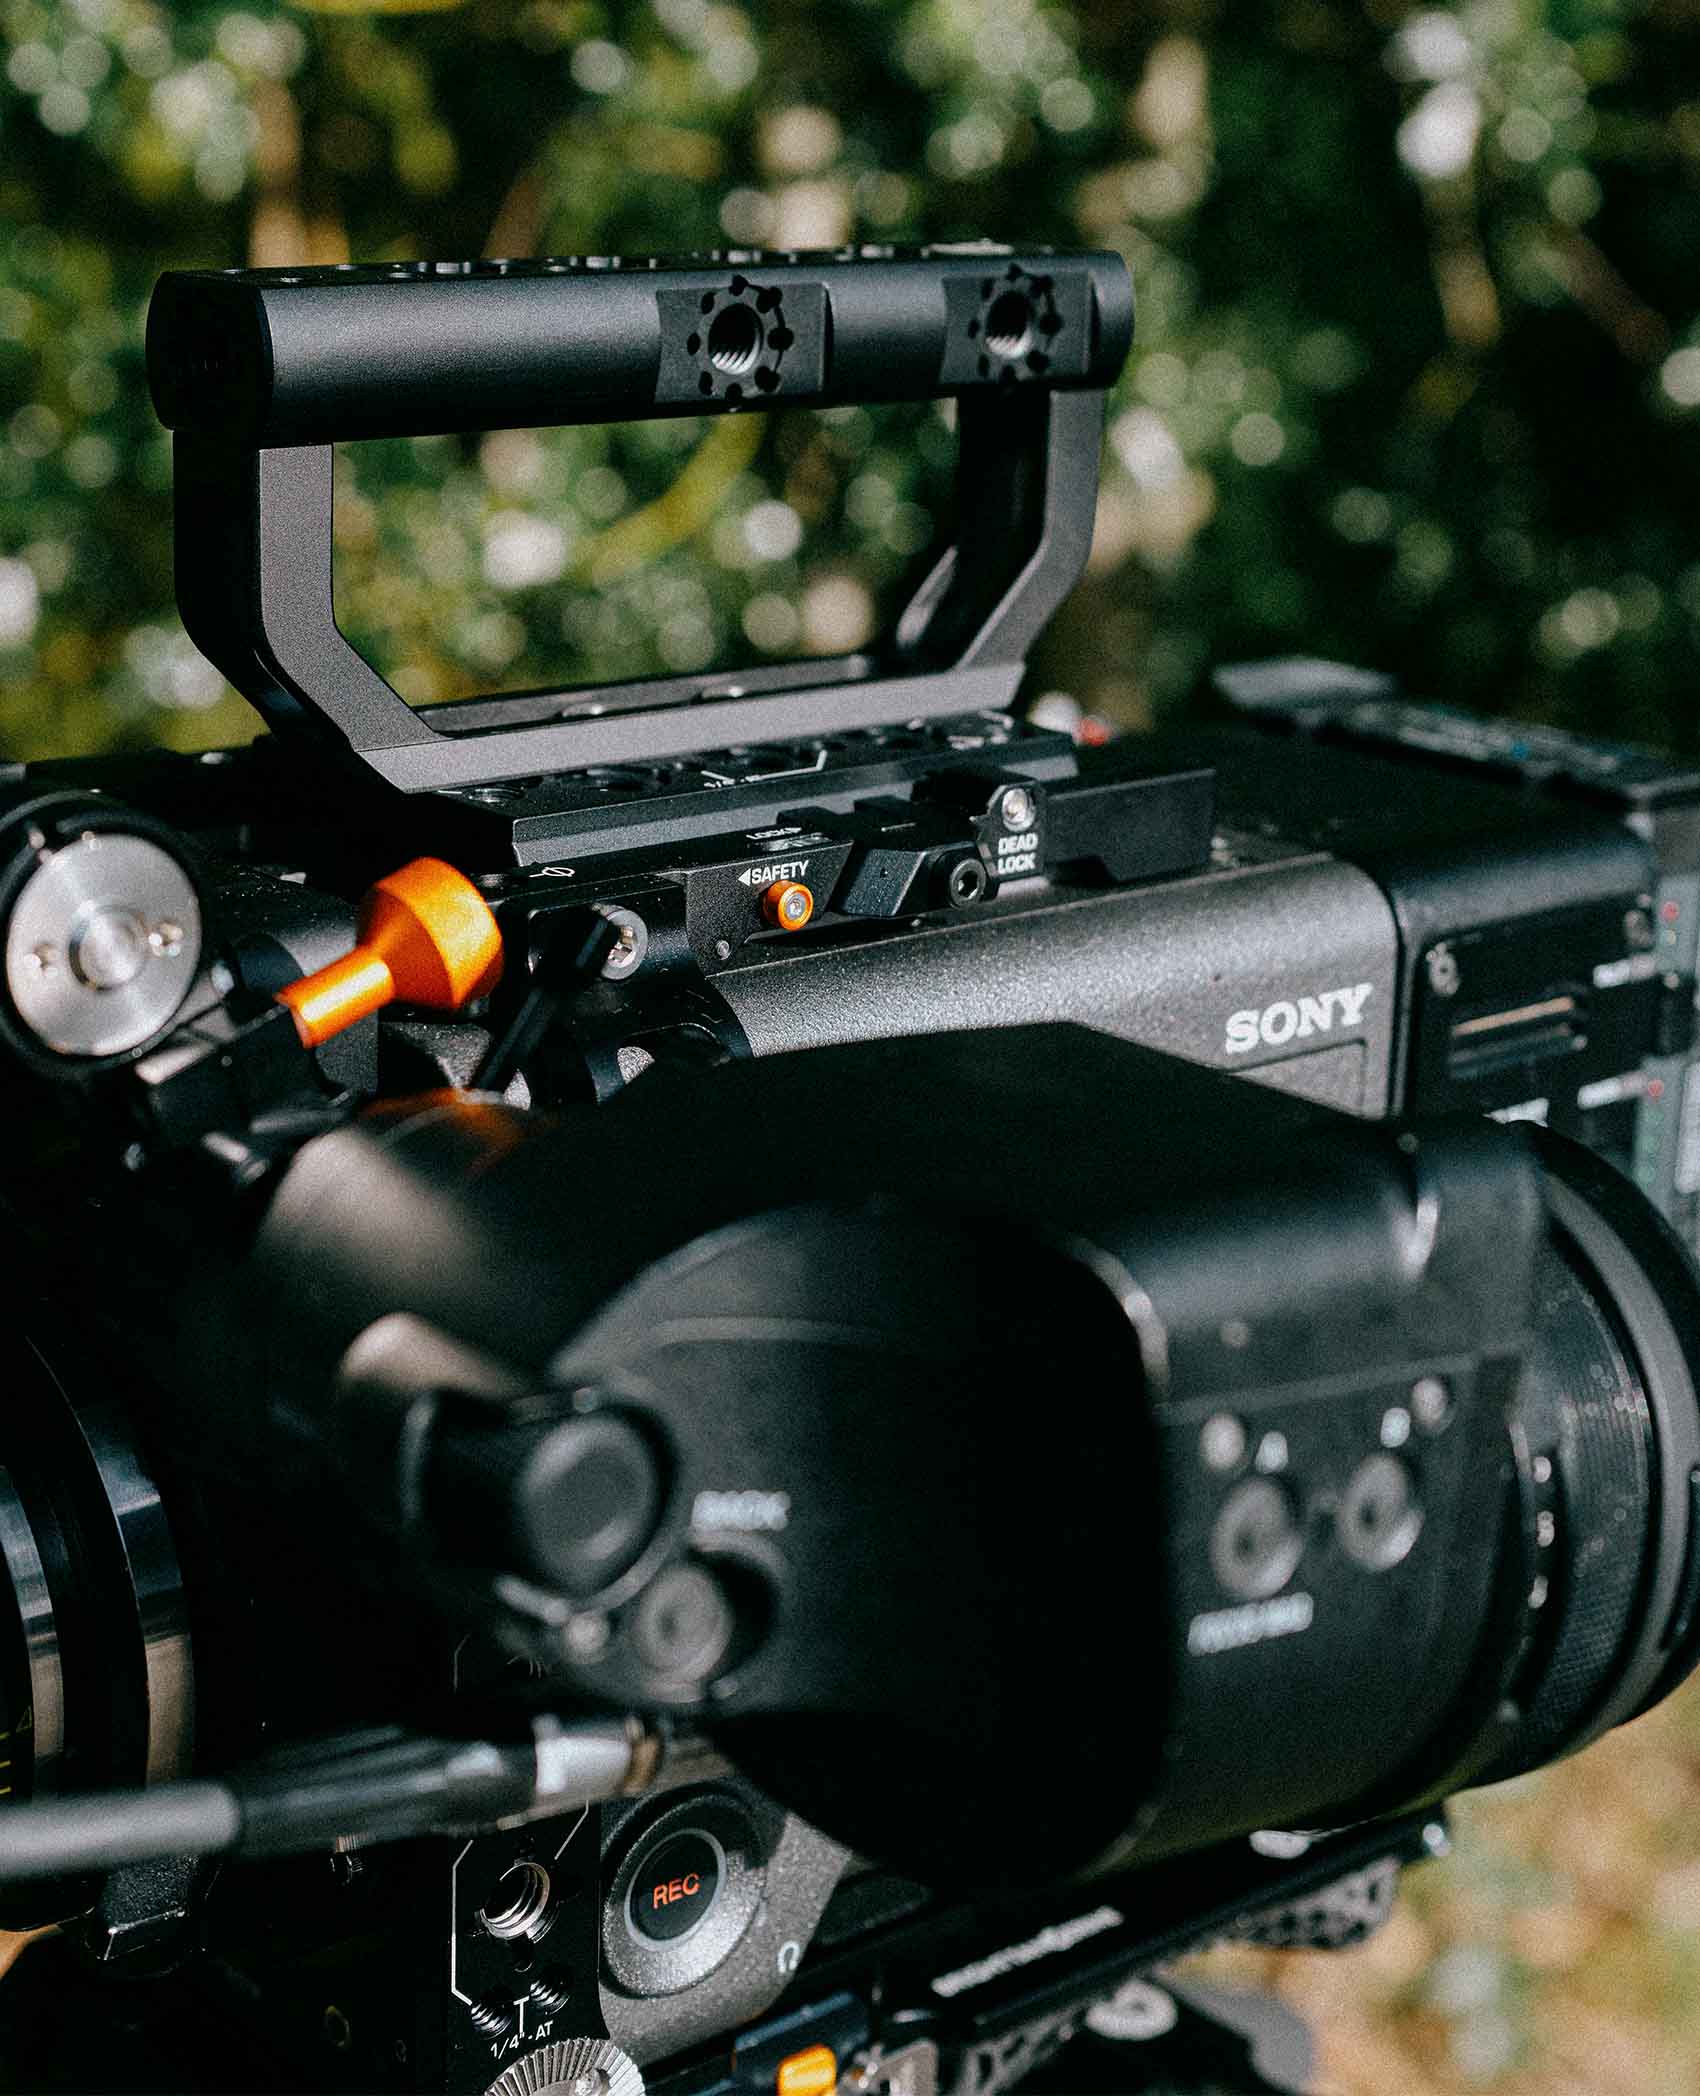
The DJI gimbal plates for the DJI RS 4, RS 3 & RS 2 ship from the factory with a variety of different thickness washers. Whilst this variation causes no problems when using DJI’s own plate, it can cause clearance issues when using the Bright Tangerine DJI compatible plates. This is due to the low profile shape of the protruding support and anti-rotation features that help secure the camera.
If you are finding that the bottom of the Bright Tangerine DJI plate is hitting the grey clamp lever and preventing fore and aft slide, you can swap the original washer out with the thinner one supplied in this kit. This will lower the grey lever sufficiently to clear the Bright Tangerine DJI plate. Please note, the use of the thinner washer in this kit will not impact the use of any other baseplates on the DJI camera plate.

Replacing The Washer
Step 1: Use a T6 Torx driver (RS4) or 1.5mm hex key (RS 3 and 2) to loosen the central screw and carefully place aside.
Step 2: Carefully remove the clamp lever.
Step 3: Unscrew the clamp bolt. The bolt head resembles a small gear.
Step 4: While unscrewing the clamp bolt, keep the clamp wedge pressed down with your fingers. This will prevent the springs dislodging the clamp wedge.
Step 5: Replace the thicker washer with the thinner one in the kit, and immediately re-screw the clamp bolt back into position.
Calibrating the Clamp Lever
Step 1: Place the Bright Tangerine DJI plate into the clamp as normal. Screw the gear-like bolt head down gently with your fingers until the clamp wedge is just touching the plate.
Step 2: Note how the top of the bolt and the inside of the clamp lever have matching serrated gear-like teeth.
Step 3: Place the clamp lever back over the head of the gear-like bolt head.
Step 4: Before replacing the central screw, swing the clamp lever back and forth and check that the plate is locked in the fully locked position, and is able to slide in the unlocked position.
Step 5: You may need to reposition the clamp lever on the gear-like bolt, by lifting it up and re-engaging it with the teeth in a different position. This is much like using a wrench or spanner on a hex bolt.
Step 6: Once you have got the lever movement tuned and clamping securely, replace the central screw.
Share: